Friday, 5 July 2019

Sweet | Sheena Rowlands | Sewing

Hi there UK Scrappers x Sheena here again x

This months challenge is sewing. I know this isn't something everyone likes to do but it can be a great way to add some texture and interest to your scrapbook pages.

Sweet.


For this page featuring my new Nephew and a crocheted horse I've just made him I decided to use both machine and hand sewing as I know not everyone has access to a sewing machine.


I used the sewing machine to firstly sew my cardstock to a patterned paper border leaving enough of a gap to bend the cardstock edges slightly. Also for the first time I stitched my photo to the matting layers behind and I really like how this looks so will probably do it again.


From the Pink Paislee - Little Adventurer range I die cut a number of circles of different sizes. I added interest to some of these using complimentary coloured thread, either by chain stitching around the edge or by adding french knots to the circles with animals on, adding to the border that was already there.


Adding sewing to embellishments in this way is less scary if you are new to sewing than adding directly to your layout. If you are not familiar with some embroidery stitches there are some good you tube videos you can watch whilst you practise. 

I finished my page with a die cut title and some wood veneer from the Little Adventurer range.

I hope you feel inspired to try sewing on your creations and please do share them with us over on our Facebook page or if you have any sewing related questions we would be happy to help x

Till next time x


Thursday, 4 July 2019

Simplify | Di Willcox | Sewing

Hello there scrap addicts! It's Di here today :)

Has anyone started, or even finished, a layout involving sewing yet?! And if you have, have you shared it with us in the Facebook group?

For my sewing layout I've created a 'quilted' background by using a triangular quilting template, I was given, to shape the papers. I used papers from Pink Paisley 'Indigo and Ivy' and OneCanoeTwo 'Saturday Afternoon' to reflect the muted colours in the photo, which was of one of our rural accommodations in Italy.


I used some embroidery thread in complimentary colours and sewed around a selection of the paper pieces in different stitches, just because I felt it would add interest to the overall layout!


I love the rose gold foiled elements that feature in the 'Saturday Afternoon' papers so fussy cut some flowers to fill the bottom left hand corner and a single one in the top right corner, along with a journalling card.
I finished off the layout with a few embellishments, the name of the place we stayed and a foam backed house that is also foiled.


 This whole layout surprised me in the fact that I chose to hand sew the quilted pieces, when I usually reach straight for my sewing machine when stitching is mentioned! 

Hopefully this has inspired some of you to give it a go, it doesn't have to be anything complicated, and enjoy the challenge ;)

Di x


Wednesday, 3 July 2019

Love U | Zoe Hailey | Stitching

Who says a layout about a man can't be pink? Anyway, I don't follow those 'rules' as you can see from my layout for July!

This months theme of stitching was great fun, although I'll admit there were definitely times I regretted my decision to include so much chain stitching. In my head I knew I wanted to chain stitch my title as this page goes with a layout I created at Go-Go Getaway in March, which had chain stitching on the design.

I cut the LOVE U title on my cricut, mounted it on white card stock and pierced my paper to create an ombre chain stitch affect, I most certainly underestimated how much time this would take and had a mild panic moment when I thought I was going to run out of my colours.


My top tips for chain stitching (now I am an expert as I have done it twice, ha ha!) are; don't separate your strands of thread, stick to all six it is far neater and pull your chain stitch tight to create a much crisper finish. I quite like an uneven chain length and made some of mine longer and shorter, but you could use a ruler if you want a more even look. I didn't cut around my lettering, leaving my white border, until all my stitching was complete. This definitely helped as some of my stitches went off the coloured paper.


I worked with the La La La Love collection from Crate Paper and because this photograph of my partner Mark, was taken on Valentines Day, I went a little crazy and tried to use every ephemera, sticker or chipboard that used the word Valentines Day! ( You only get the chance once a year, so I went a bit over the top!)

And because I wasn't satisfied with my discrete chain stitched title, I also included running stitch hearts in the background of my layout, stitched hearts in my clusters and white cross stitched kisses on my borders.


I love how busy my layout is with paint splatters and sequins too! The texture from the stitching is definitely my favourite part and was worth the hours..... In the end!


Really hope you enjoy this months theme and I will look forward to seeing what you come up with.

Zoe x


Monday, 1 July 2019

Beary Cool | ScrappyNerdUK (Claire) | Sewing

This month is either going to make you or break you if you're joining in with our monthly themes.

It is the Marmite of the scrapbooking world (and I'm not talking about Fussy cutting!!).

Our theme this month is.......Sewing!!!! (I just heard you groan).

We like to pick themes that really stretch you and push you outside your comfort zone so don't shy away and be sure to join in. We have a whole team of amazingly talented ladies that are ready to show you some ideas as to how you can incorporate sewing (hand or machine) into your scrapbook pages.

I decided to dust off my WeRMemory Keepers Sew Easy tool and put it to work on this layout. I have quite a few attachments for it and it was gathering dust in my drawer so this challenge was the perfect excuse to grab it out and use it!

I decided that I wanted to make my layout 9x12 (I do a mixture of different sizes and I think it helps break up the monotony of 12x12 layouts). I trimmed down my white cardstock to 8.75x11.75 inches and distressed the edges with a distressing tool.

I had already pre chosen my paper that I wanted to back my white cardstock with and it is the rainbow paper from the Rainbow Magic paper pad which is made by Hobbycraft. (It has rainbows, unicorns and clouds in it so this collection is a definite winner for me - hehe).

I used some Heidi Swapp colour shine in Black to add some ink splatters before I began as I didn't want to risk getting the splatters onto my sewing.

Next I grabbed some border punches and punched out a few strips of paper from the same paper pad. I had this vision in my head of paper strips, stamps and sewing in strips at the bottom half of my page. I can say that it turned out exactly how I imagined it!!

I layered some paper strips, then I used a star strip stamp with black ink and then my Sew Easy tool pierced the holes for me to add my stitching in. I used 3 different attachments to add different stitching styles. In the straight stitch I did chain stitch and the other 2 I just did a straight back stitch. It created lovely texture and I was really pleased with the result.

I grabbed some black and white Thickers from my stash and added little foam dots underneath each letter to add some dimension for the title. I love the natural shadow it creates underneath the title and stuck these down in a slightly wonky fashion for extra interest.

I finished the layout off with some co-ordinating enamel dots and a couple of 3d stars that I had laying around on my desk from another project I had completed earlier in the day (I love that I managed to put some leftover die cuts to use on another layout).

And here is the finished layout.

So get that sewing needle and thread out and give sewing a go. This shows that a small amount of stitching can still be very effective.


Until next month.......

Claire x


Saturday, 29 June 2019

You're My World | Essie Peck | Mixed Media


I LOVE MIXED MEDIA !! There I've said it - or rather shouted it !! I know it's not everyone's cup of tea but I have always been a messy crafter and so MM is just right up street. But it doesn't mean you have to go all out and create some super, all over background. For this layout although I did start by adding some colour with a little packaging technique and distress inks on the background, the focus of my mixed media techniques was to create on individual circles of cardstock, that way if I had messed it up, I hadn't ruined the whole layout and could just redo that one piece ! 

I used Nuvo embellishment mousse in three colours through a stencil

Stamping, distress inks, Shimmerz water colour paint and stitching

I also added some stamping to the background.
Then I just arranged all my circles and my photo on the background with some embellishments and borders of patterned paper. So if you're a bit unsure about going straight in with Mixed Media over your background paper or on large areas, why not try creating smaller samples like I have. You can see exactly how I created my page on our YouTube Channel - 

Don't forget to share your layouts with us over on our Facebook page, or tag us on Instagram if you've been inspired by this months theme.


Thursday, 27 June 2019

Just Be You | Kirei Baldwin | Mixed Media

Hi UK Scrap Addicts!

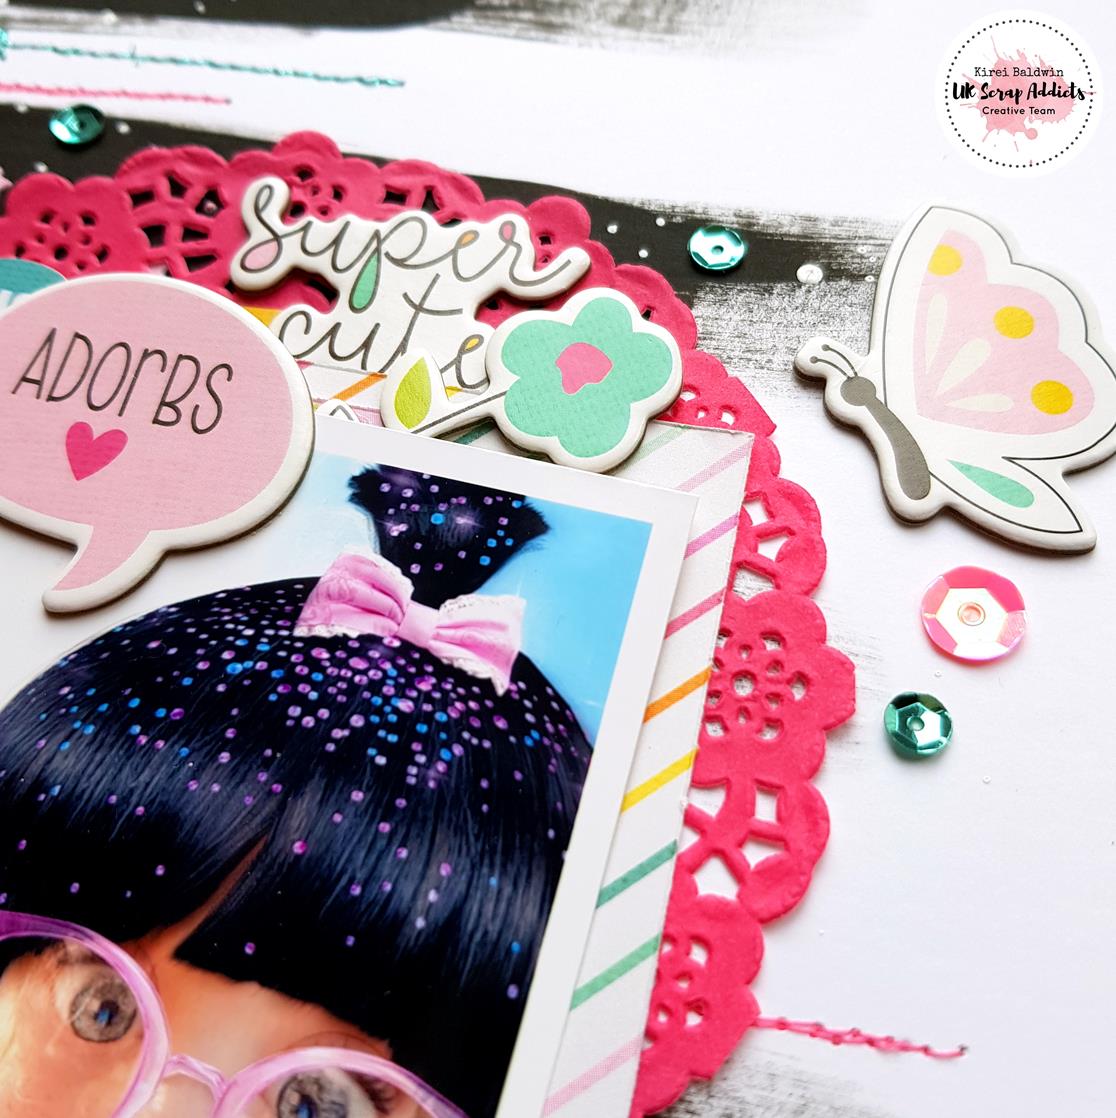
Kirei here with another layout featuring this months 'mixed media' theme... I had these super cute photos of my friend's daughter playing around on Snap Chat that was perfect for this layout!


Like some of the other DT I don't use mixed media all the time on my layouts but do like to get messy every now and then! So for my layout I was inspired to use a black painted stripe background as I have seen quite a few examples out there and really like the look of it so this is my take on it.

I used Bazzill Marshmallow cardstock for my layout as it's ideal when using mixed media as it is slightly thicker and doesn't need priming with gesso before you start. I used regular black acrylic paint to paint the wide stripes, then once it was dry I added some texture paste (that I had coloured pink) through an Echo Park star stencil to add dimension.


After that had dried I added some white paint splatters all over the layout. And then for some more texture I did a bit of machine stitching using metallic pink and teal thread.


I mounted the photos with papers from the Simple Stories 'Dream Big' collection and then added lots of the matching embellishments along with some pretty sequins from Spiegel Mom Scraps.


And finished off with a title...


So, if you have never used mixed media before hopefully this has inspired you to give it a go! Have a look at the rest of the Creative Team's layouts this month for more inspiration and don't forget to share your mixed media layouts over on the UK Scrap Addicts Facebook page...

Thanks for looking and happy scrapping!


Tuesday, 25 June 2019

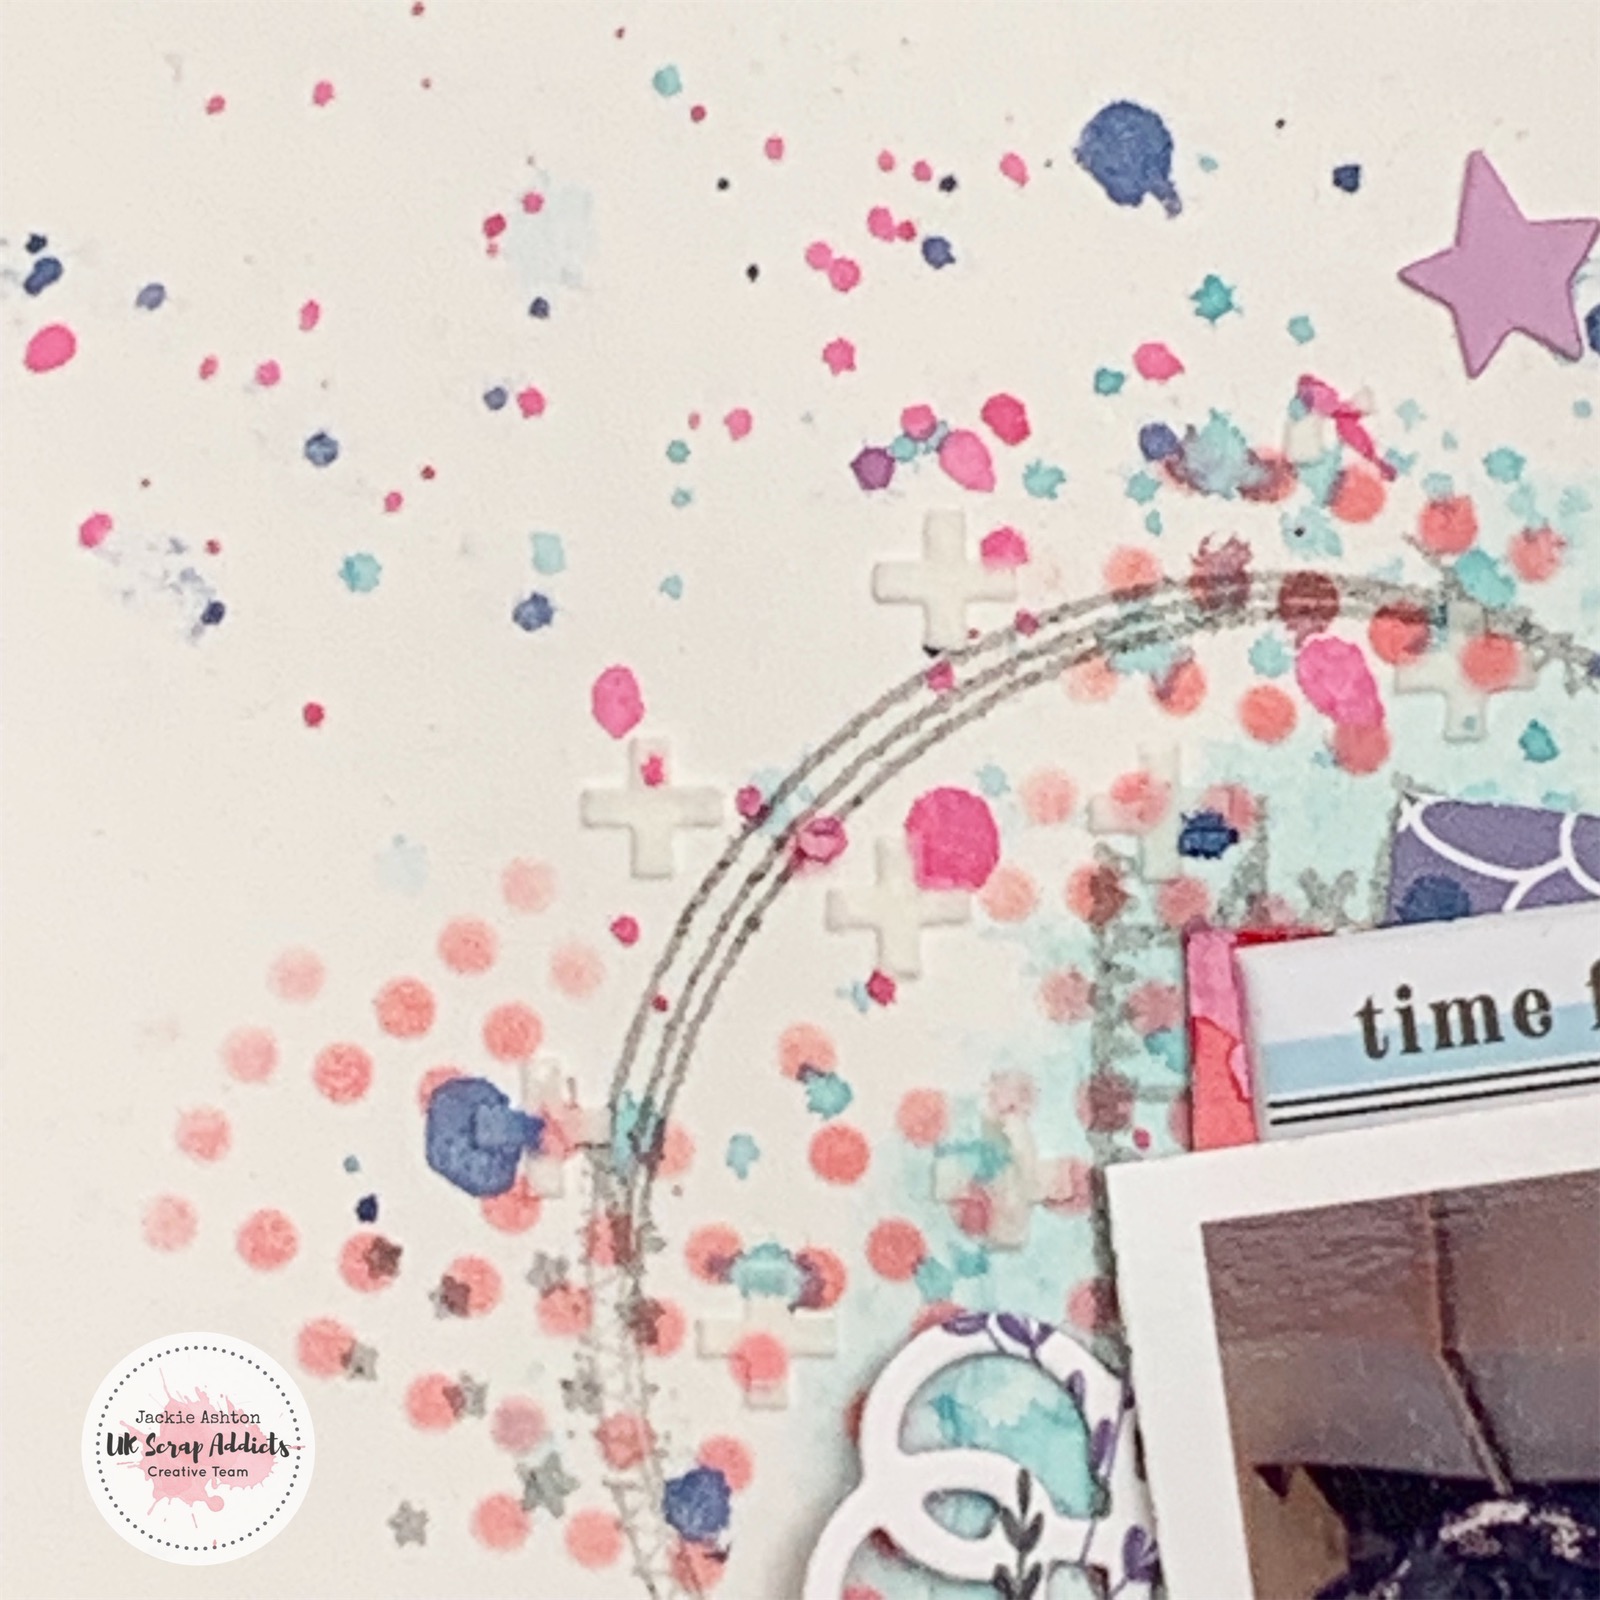
Looking Fabulous | Jackie Ashton | Mixed Media

Hi scrappers, Jackie here with my layout for this month theme - mixed media.  
When people think of mixed-media it either scares them, as they think that they need to add all sort of colours and textures to the pages to get a result, that is just ‘not them’, or they love it and use the ‘more is more’ approach.  I’m on the fence with this - I love the look of ‘adding it all’ but find it hard to do it myself for my own pages, so I prefer to stay true to my style of scrapbooking, and add it, but in my way. 


I started by adding blue distress oxide ink to the background along with a few splatter, then I added some texture paste through a stencil and added red ink using a different stencil with stamped details over the top.

Most of this as ended up being covered over, but I’m ok with that as you can still see the details around the outside of the photographs.


For my title, I used a large puffy word as part of the title, which I was able to fit around my journalling label, without it taking over the whole page.


So adding mixed media to your layouts doesn’t have to be a masterpiece with colours in all directions, it can be something as simple as adding texture paste using a stencil, stamping designs on the background, or even adding some machine stitching to add interest  to your layout.  So why not, give it a try, if the ‘more is more’ approach is for you - then do it, if not try adding different textures to your background that is more your style and something that you are comfortable doing, I’m sure you will be pleasantly surprised at the results.

Don’t forget to share your layouts over on our Facebook page, we would love to see them.


Till next time