Showing posts with label #mixedmedia. Show all posts

Friday, 10 July 2020

Adore You | Sarah (ManxyCatCrafts) | Handmade Embellishments

Hey! Sarah here back after a break from the scrappy world and gosh I have missed it!!

I have my take on this months theme of Handmade Embellishments today.
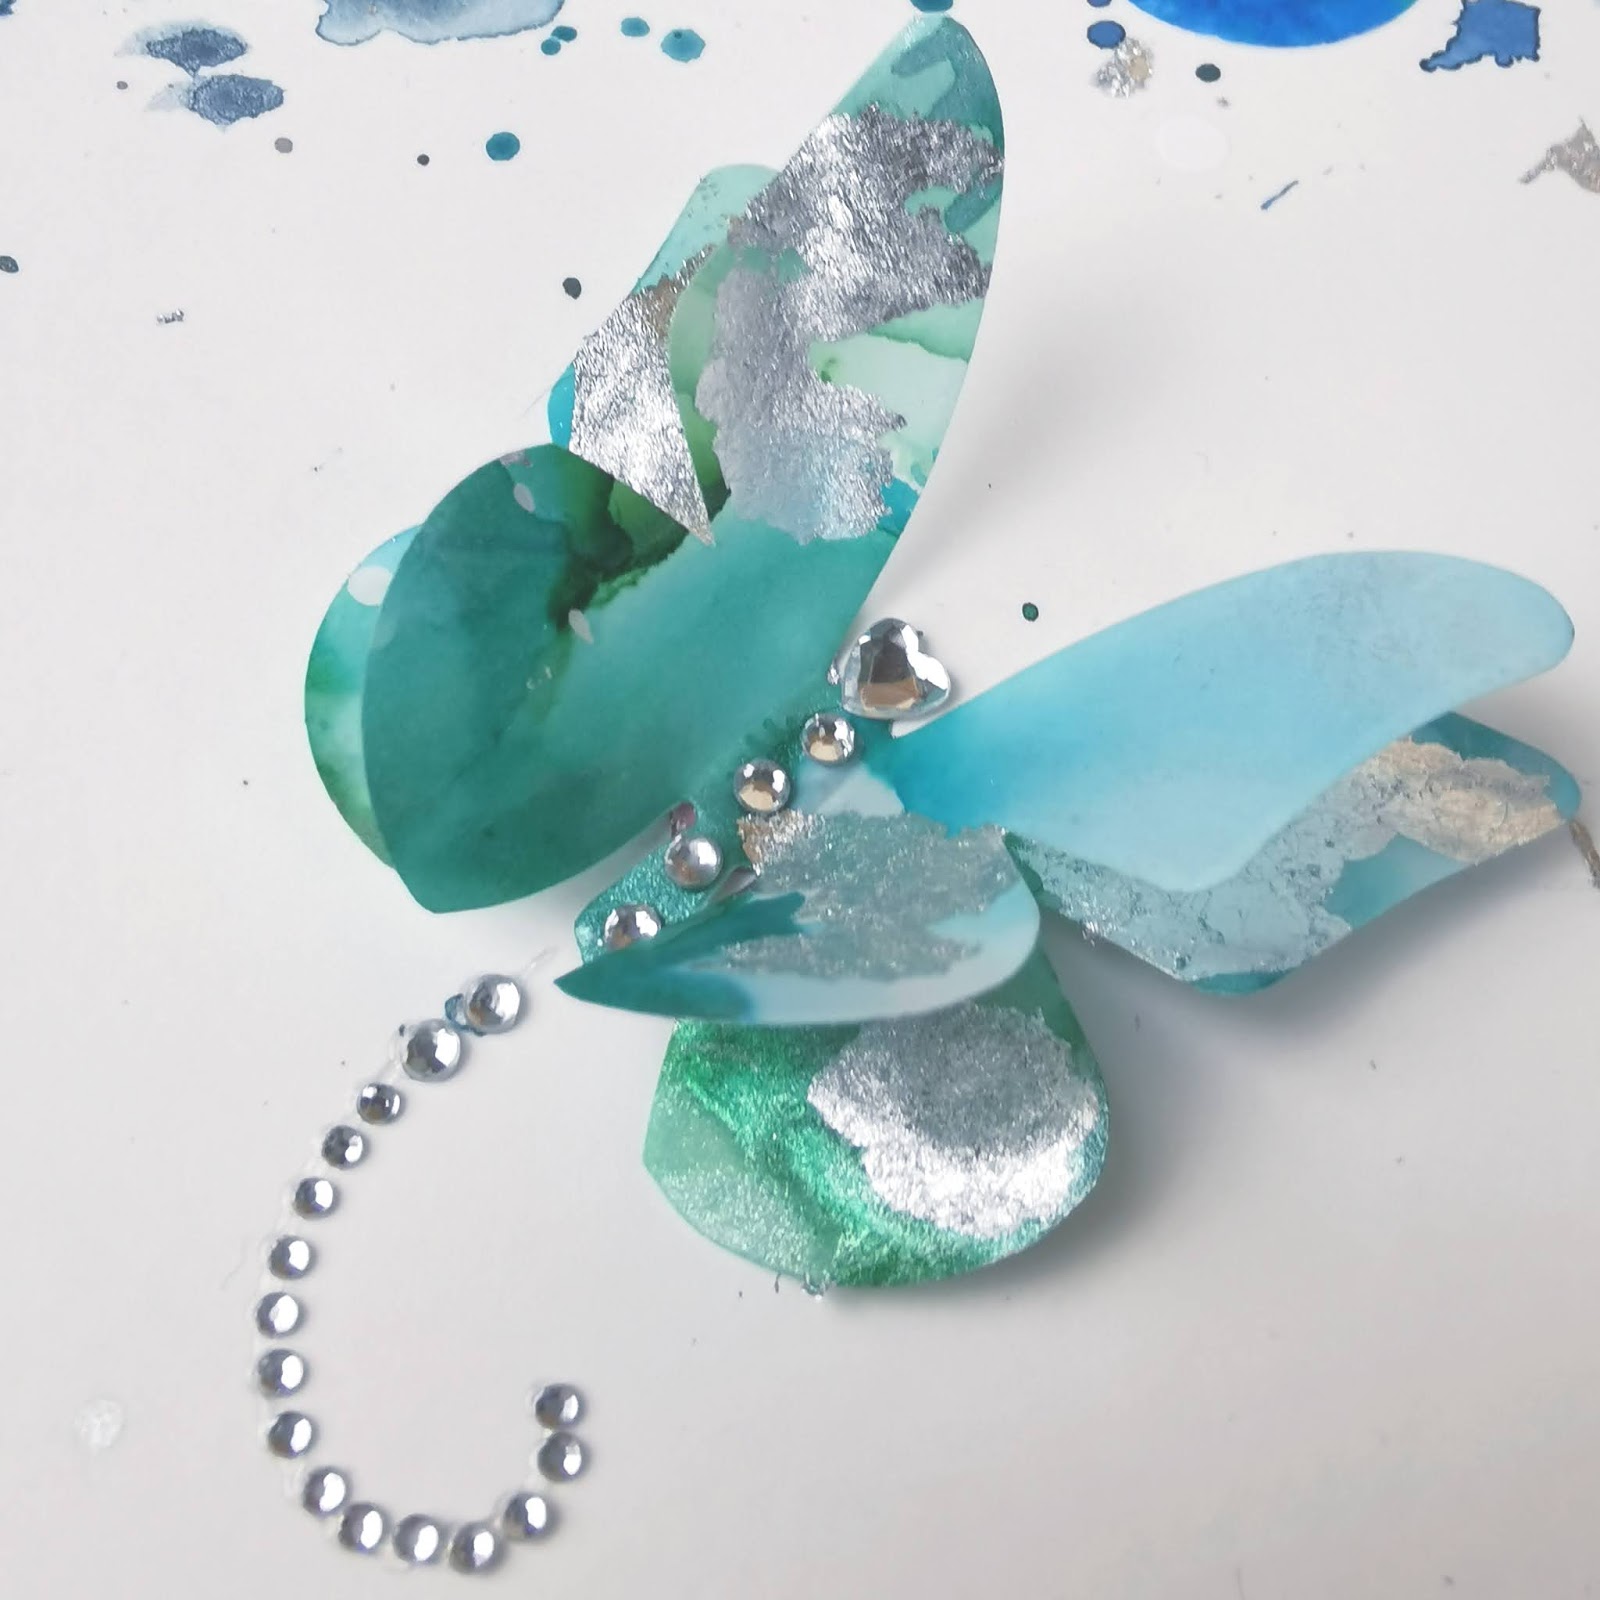
I decided to create 3D butterflies one of my fav embellishments to make. I combined diecut vellum with alcohol inks to create an interesting pattern on each one and topped them with gems.


For my layout I chose a creative kit and handmade watercolours by Little Rainbow Moon to go with the mixed media butterflies. I used the Vicki Boutin mixed media paper and added lots of watercolour across the page with gilding flakes in silver over the top.


I printed the photo of my baby boy Jamys in black and white so it would stand out over the messy watercolour background. The papers in the kit were all different textures and worked well with the page, I added some of the alcohol ink paper matching the butterflies too which tied it altogether.


For my title I used white Perspective words by Bramble Fox I do love a scripty font!


Finally I added a few extra gems and stickers around the page and some splashes of white ink.


I have a video of the process linked below if you'd like to see it all come together.


Thanks for joining me and have a happy scrappy day :)

Sarah


Friday, 29 May 2020

Jonah | Amy Kattenbelt | Inspired by another hobby


Good Morning UK Scrap Addicts, I am here to share with you my layout that was inspired by one of my other hobbies....Art Journalling.
For more than 10 years I avoided all things mixed media when I was scrapbooking. I discounted anything that used paint and sprays. I thought they were too scary as they were pretty unpredictable and messy.

Then, thanks to Shimelle's influence I tried finishing my layouts with a little controlled splatter of ink...and I loved how it looked. Slowly my confidence to use mixed media products grew and I learnt to embrace the curled pages and the whoops moments when something didn't turn out how I wanted.

 Last year I started down the slippery slope of Art Journalling (a hobby that involves as much stash shopping as scrapbooking!). Now I absolutely love nothing more than sitting with an empty page in my journal and some tubes of paint and just playing about...sometimes I love the results and other times not so much.

I wanted to created a layout that was heavily influenced by some of my favourite art journal products. Here is what I pulled out to create my layout...
I picked my favourite colours of Golden Acrylic paint, scraps of papers (photocopied old family documents, book paper, music manuscript and a photo from a magazine), a stencil, black pen, tim holtz ephemera and word stickers, matte medium, a date stamp, some rub one and my heat gun.

I started by using clear gesso on a piece of 12x12 card stock and printing my photo on matte paper and cutting it out.


I then created a collage base using the scraps of paper with the matte medium. My favourite tool to do this is my hands...applying the matte medium (which I use as a glue) to the back of the scraps and then also to front once they are in place. I created a very rough diamond shape design to the right of the page for my photo to sit on, and a smaller triangle shape to the top left for my title. I made sure to leave plenty of white space.

I then used a flat brush, and my fingers to layer up my acrylic paints. I added pops of teal towards the end of the process, and also used a stencil brush with one of the paints and the leaf stencil. Something I'm still having to be mindful of is that often "less is more" When I was happy with the paint layers, I added some tissue paper that had been stamped on and layered that in with the paint. The black lines on the tissue gave me something to ground my photo on to. I then doodled black squiggly lines around the painted areas trying to emphasis the diamond and triangle shapes. I added some wings to my photo and stuck it to my layout. 


I finished my layout with some very old teal rub ons, some phrase stickers, some star stickers and star enamel dots plus a couple of black heart puffy stickers.

I encourage you all to give something new a try...challenge yourself to do something you think isn't for you...it might turn out to be one of the best things you ever do!

Thanks for reading, be sure to head on over to our Facebook group where we will be sharing our new challenge at the start of June!


Wednesday, 29 January 2020

2019 | Amy Kattenbelt | Paper Folding

Hello UK Scrap Addicts, Amy here with my layout that uses paper folding. I hope you have enjoyed seeing all the ways the creative team have used the technique of paper folding into their layouts this month.

I really fancied creating a rainbow layout, one of my all time favourite things to do! I cut this 'Fold and Tuck Star' by Alaa K on my silhouette in white cardstock. Once it is cut you fold each 'V' cut of the star over and tuck it under the one next to it.

I used watercolour paints to create this circular rainbow background. I decided as there were 10 points on the star I would create a 'best of 2019' style layout. I picked 10 photos from last year that represented some of our family's highlights, and printed little 1" square photos.

With the star cut and folded, the photos printed and and the background painted, the layout came together really quickly. I added some thickers for the year in the middle of the circle and printed some journaling for each photo which i then cut into stripes and stuck down.


I hope you enjoy this different approach to paper folding. I think it will be pretty eye catching as the title page in my 2019 album.


Do pop over to the UK Scrap Addicts facebook group and share your layouts, we love seeing them! We will back with you in just a few days time to share with your our new theme for February.


Sunday, 17 November 2019

Best Friend | Karen Moss | Masculine Layout

Hello, Karen here with my masculine layout for this month's challenge.

It is rare for me to make a layout that doesn't feature females or flowers or pretty things so this was quite a change for me.  I decided to try for a grungy feel and dug out my Infusions - coloured powders that are activated with water.  Also to accentuate the masculine/grungy feel I planned on using my Tim Holtz crackle paste.


I am really thrilled with the effect that I achieved using these together. I started by laying down a triangle of the Infusions powders in shades of yellow and blue.  I then added some texture using a clock face stencil and crackle texture paste.


I added some strips of paper both vertically and horizontally and mounted my photo onto three pieces of paper, which I 'roughed up' with my finger nail. 

The cogs on my page were cut from an old pizza box and I peeled some of the paper off to reveal the ridges underneath then added some texture paste and inked them with some brown ink. 


I have a process video here which shows how the page was made. 

We would love to see your masculine pages over on our Facebook Page or Instagram feed

Karen

Wednesday, 13 November 2019

Sunshine and Fresh Air | Sarah Costain | Masculine Layout

Sarah here today with my take on this months theme of masculine layouts.
Around 95% of my layouts are of my little boy so masculine layouts are the norm for me.

I don't however use just paper collections aimed at boys. For starters there's very few collections available and secondly I like to use flowers and pretty things on my page.
I therefore have my own little rules (which I break all the time anyway!) I don't use a majority of pink on a page, I use flowers on outdoorsy/nature layouts or in boyish colours and destash anything with "girl power" written on it.

So for today's layout I went outdoorsy and even though I didn't add flowers and butterflies I would and could have if they were to hand.
I started out with the idea of a leafy layout with a black background as I had attended a Crafty Vixens workshop at the weekend loved the layout and wanted to recreate something similar on black.


I added white texture paste to my background through a leaves stencil and added splashes white ink.
With my die cutting machine I cut a bunch of leaves and added Distress Oxides to them scrunching them to add texture.

I fussy cut some cute woodland critters and words from the Crafty Vixens kit leftovers and cut two mats for my photo and distressed the edges.


I glued these over the leaves and then added some diecut tags to the top corner for balance.
Using some ephemera I added a few pieces over the tags and a title over the leaves.


Finally I added some sequins and splashes of ink to my background and amongst the leaves. 
You can check out the process in more detail in the video linked here.


Thanks for joining me and have a Happy Scrappy Day :)

Sarah
ManxyCatCrafts

Tuesday, 5 November 2019

this photo | Amy Kattenbelt | Masculine Layout

Hello, Amy here sharing my layout on this month's UK Scrap Addicts theme of 'Masculine Layouts'. As a mum to 3 boys its safe to say that the majority of my layouts are could be classed as 'masculine'. However several years ago, after the arrival of my youngest, I came to the conclusion that I could either continue scrapping in blues, greens and browns (with the occasional primary colour scheme) or I could embrace all the pinks and florals and scrap with products that I love and that make me happy. So these days I don't think anything of using what some might class as traditional feminine collections. 
I know that for some this is a difficult thing to try and do, so i thought i would show you how you can start to introduce pinks and flowers into a layout without it being too overwhelming or typically girly.

On this layout I used a reddish hue of pink, almost salmon in colour, along with a pale mustard and a light aqua. The papers were from a 12x12 pad I found in The Range called Forest, by Craft Sensations. I had fun creating a splattery water colour background using the pink and yellow (deliberatly not picking the more obvious aqua colour).

I used hexagons as a repeating shape, I find geometric shapes can really work well on masculine pages. The straight edges are a nice contrast to the floral puff stickers.

As well as little puffy pink hearts, I also used little crosses, another great shape for masculine layouts.

I added a black puffy sticker title, and love how this stands out against the more muted colours. I added flecks of black ink on the background too.

I hope this layout might inspire you to think out the box when creating layouts featuring the males in your life. Be brave and give it a go...balance traditionally feminine elements and make elements, I hope you agree there should be no limits when scrapping these photos...do whatever makes you happy!


Sunday, 13 October 2019

I'm Crafting | Sarah Costain | Multi Photos

Sarah here today with my Multi photo layout for this month.

I decided to create a grid layout with 4 small photos. I knew I wanted to layer lots of papers behind each one and wanted a nice gap between them so didn't print them very large.

To begin with I created my background with texture paste and ink spray in white to contrast with the black background.


Whilst this dried I added my layers of paper and some raffia ribbon to the back of each photo with layers of foam to add some height.


The photos were added to the dry background with a T ruler to help keep them straight and I added a title ephemera piece to the centre popped up on more foam.


I used some crafty stickers around the edge of my photos and some button stickers instead of sequins or enamel dots around my background.


Finally I added some golden yellow ink splashes to my background for a little more colour and my layout was done.
You can check out the process in the video link here.


Thanks for joining me and have a Happy Scrappy Day :)

Sarah
ManxyCatCrafts


Wednesday, 11 September 2019

Hello | Stephanie Squires | Selphy

Hi all and welcome to this months blog post...

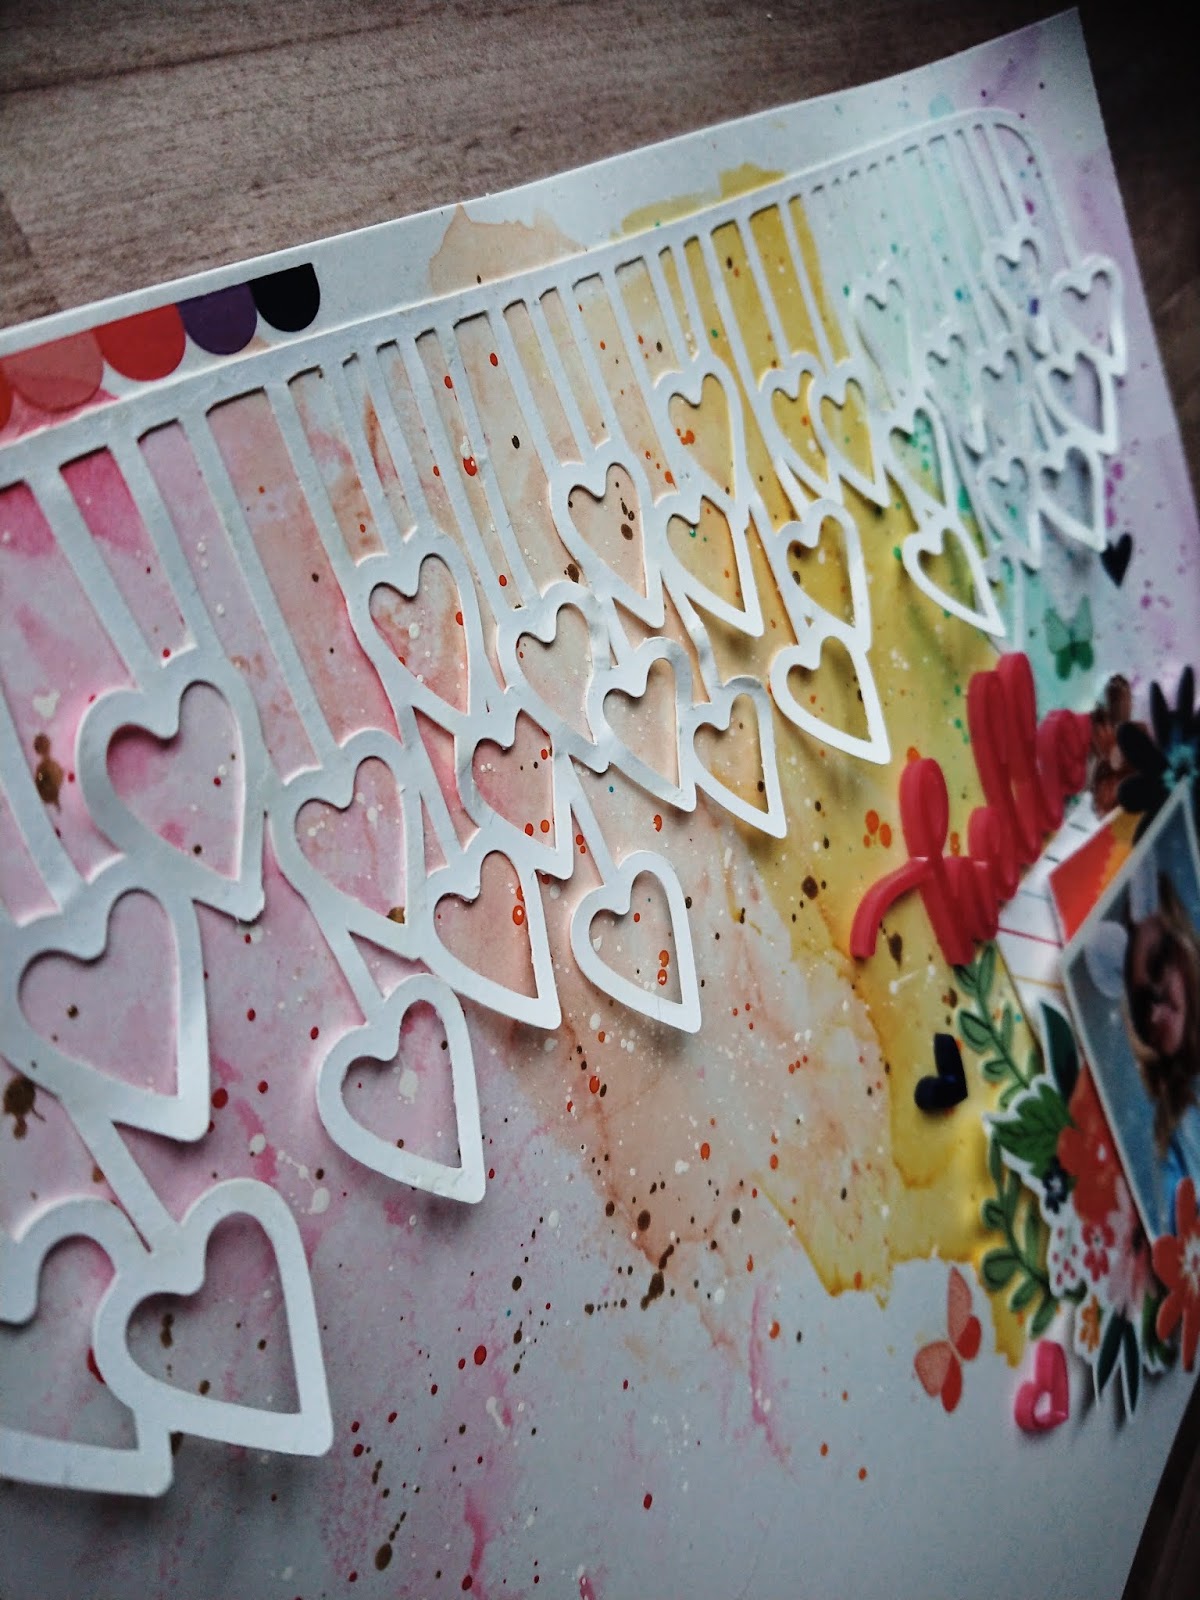
So I had a great time with this moths challenge by making a mixed media layout!  I used a sheet of Vicky Boutin's mixed media paper and some pastel prima water colours.  I started with the pink and smooched it on the top left hand corner of the page.  I mixed the yellow and pink together to make a peachy colour and then used the yellow.  After every colour I used I made sure that the colour next to it hadn't dried, that the colours over lapped and that I came a but further down the page resulting in the mauve going from the top to the bottom of the page. Once this had dried I flicked the water colours on to the matching colour so it was a much darker shade of the same colour,  I then flicked gold and then white to complete the background.  

I stuck the cutfile on the top of my page just sticking the top part so the hearts were all lifting (I had previously used this cutfile as a mask so it had white texture paste on it which helped with this design.

Once this was stuck down I created my photo cluster.  I used lots of bits and pieces from Paige Taylor Evans's Grateful range to do this.


I cut two pieces of paper to 3 x 4 and tucked them behind the photo using foam pads to get the dimension that I wanted.


I then tucked in the ephemera around the photo and the paper mounts using foam pads as and when to give the height I needed.  Next came the perspectives and then the transfers were used to complete this layout!


And here it is my finished layout!  


Please let us know how you got on with this challenge and tag us in on Instagram so we can all see what you have made....Until next month my scrapbooking friends....

Take care,

Steph xoxo


Smash that Selfie! | RamblingsofGeo | Selfies

Hey everyone!

I hope your all well, and enjoying September's challenge so far!

I have completed the challenge in my Purple cutesy smash book, and I have used 4 snapchat photos printed on a 4x6 and cut into 4 individual 2x3 photos printed on my own printer at home.

I decided to use mixed media for this layout challenge; i used some Vicki Boutin Creativefx in Rose gold through a Bramble Fox stencil. I also did some stamping, and used the Vicki Boutin Stamp and die set with a flower style stamp. The brightest ink i had to hand was the Vicki Boutin Color wheel inks which i got for a really good deal in Hobbycrafts clearance section a while ago along with the Die/stamp set! - I then flicked some Shimmerz 'Its mint to be' over the top.


I backed the papers on a floral printed paper, and then layered up some washi tape behind the photos.

I used some stickers from the Shimelle sticker book, and some Amy Tangerine puffy stickers from an older collection of hers. I tried to used colours that would compliment the page on the left hand side of the Smashbook layout.


 There is a process video of this layout getting put together, enjoy!

https://www.youtube.com/watch?v=Ddj2YbSk3UU&feature=youtu.be