Showing posts with label #stephanielouise123. Show all posts

Saturday, 23 November 2019

Boys will be awesome boys - Masculine - Stephanie Squires


Hello all and welcome to this moths blog post!

So as you might be aware - I am a girl!  I have two girls and I love pink girly stuff so this months challenge - Masculine was a challenge for me too!!

Well lucky for me my sister gave me two adorable nephews a year ago so I had plenty of lovely photos to choose from but my scrap stash is a bit girly....so I dug deep and came out with Shimelle's box of crayons collection from last year and I thought it would be perfect!


I found this cutfile on the Silhouette store and I cut it out on some coconut swirl bazzill basics cardstock (I always ensure I set my silhouette to pass through twice to have that nice clean cut) I then trimmed the cutfile down to 11.5 inch square.

I used the centre part of the cutfile first and backed some of the letters with some bright and funky paper from the collection and the "O's" with photos of my nephew Oscar!


Once that was done I started making up the layout....I chose my 12 x 12 page and stuck the outside of the cutfile down flat but I used foam risers on the back of the boys will be boys part of the cutfile to give my layout some more dimension.


I put a small embellishment cluster in the bottom left hand corner and raised the word "Awesome" on some foam risers before sticking it onto the layout.  I added some additional stickers and paperclip lightbulbs to complete the layout!


Thank you so much for reading - happy scrapping

Steph xoxo

Wednesday, 11 September 2019

Hello | Stephanie Squires | Selphy

Hi all and welcome to this months blog post...

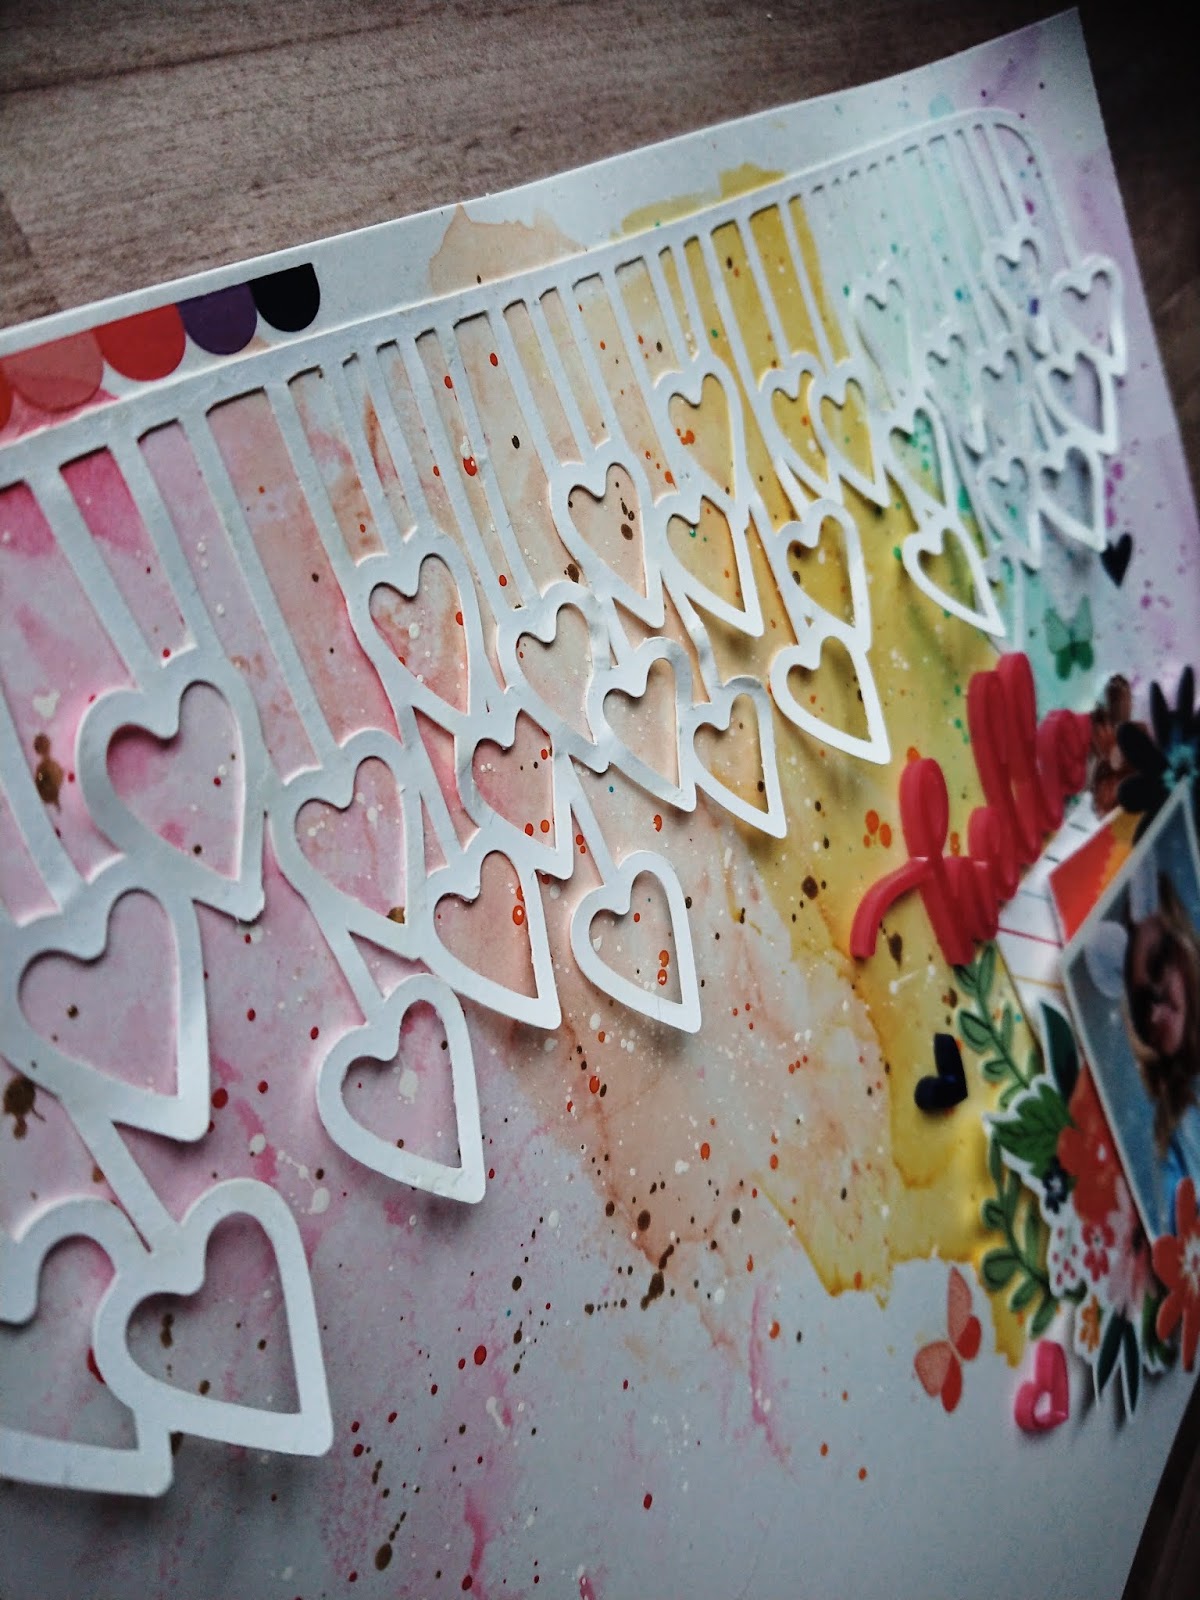
So I had a great time with this moths challenge by making a mixed media layout!  I used a sheet of Vicky Boutin's mixed media paper and some pastel prima water colours.  I started with the pink and smooched it on the top left hand corner of the page.  I mixed the yellow and pink together to make a peachy colour and then used the yellow.  After every colour I used I made sure that the colour next to it hadn't dried, that the colours over lapped and that I came a but further down the page resulting in the mauve going from the top to the bottom of the page. Once this had dried I flicked the water colours on to the matching colour so it was a much darker shade of the same colour,  I then flicked gold and then white to complete the background.  

I stuck the cutfile on the top of my page just sticking the top part so the hearts were all lifting (I had previously used this cutfile as a mask so it had white texture paste on it which helped with this design.

Once this was stuck down I created my photo cluster.  I used lots of bits and pieces from Paige Taylor Evans's Grateful range to do this.


I cut two pieces of paper to 3 x 4 and tucked them behind the photo using foam pads to get the dimension that I wanted.


I then tucked in the ephemera around the photo and the paper mounts using foam pads as and when to give the height I needed.  Next came the perspectives and then the transfers were used to complete this layout!


And here it is my finished layout!  


Please let us know how you got on with this challenge and tag us in on Instagram so we can all see what you have made....Until next month my scrapbooking friends....

Take care,

Steph xoxo


Sunday, 9 June 2019

Living a colourful life | Stephanie Squires | Mixed Media


Hello all and welcome to this months blog post!

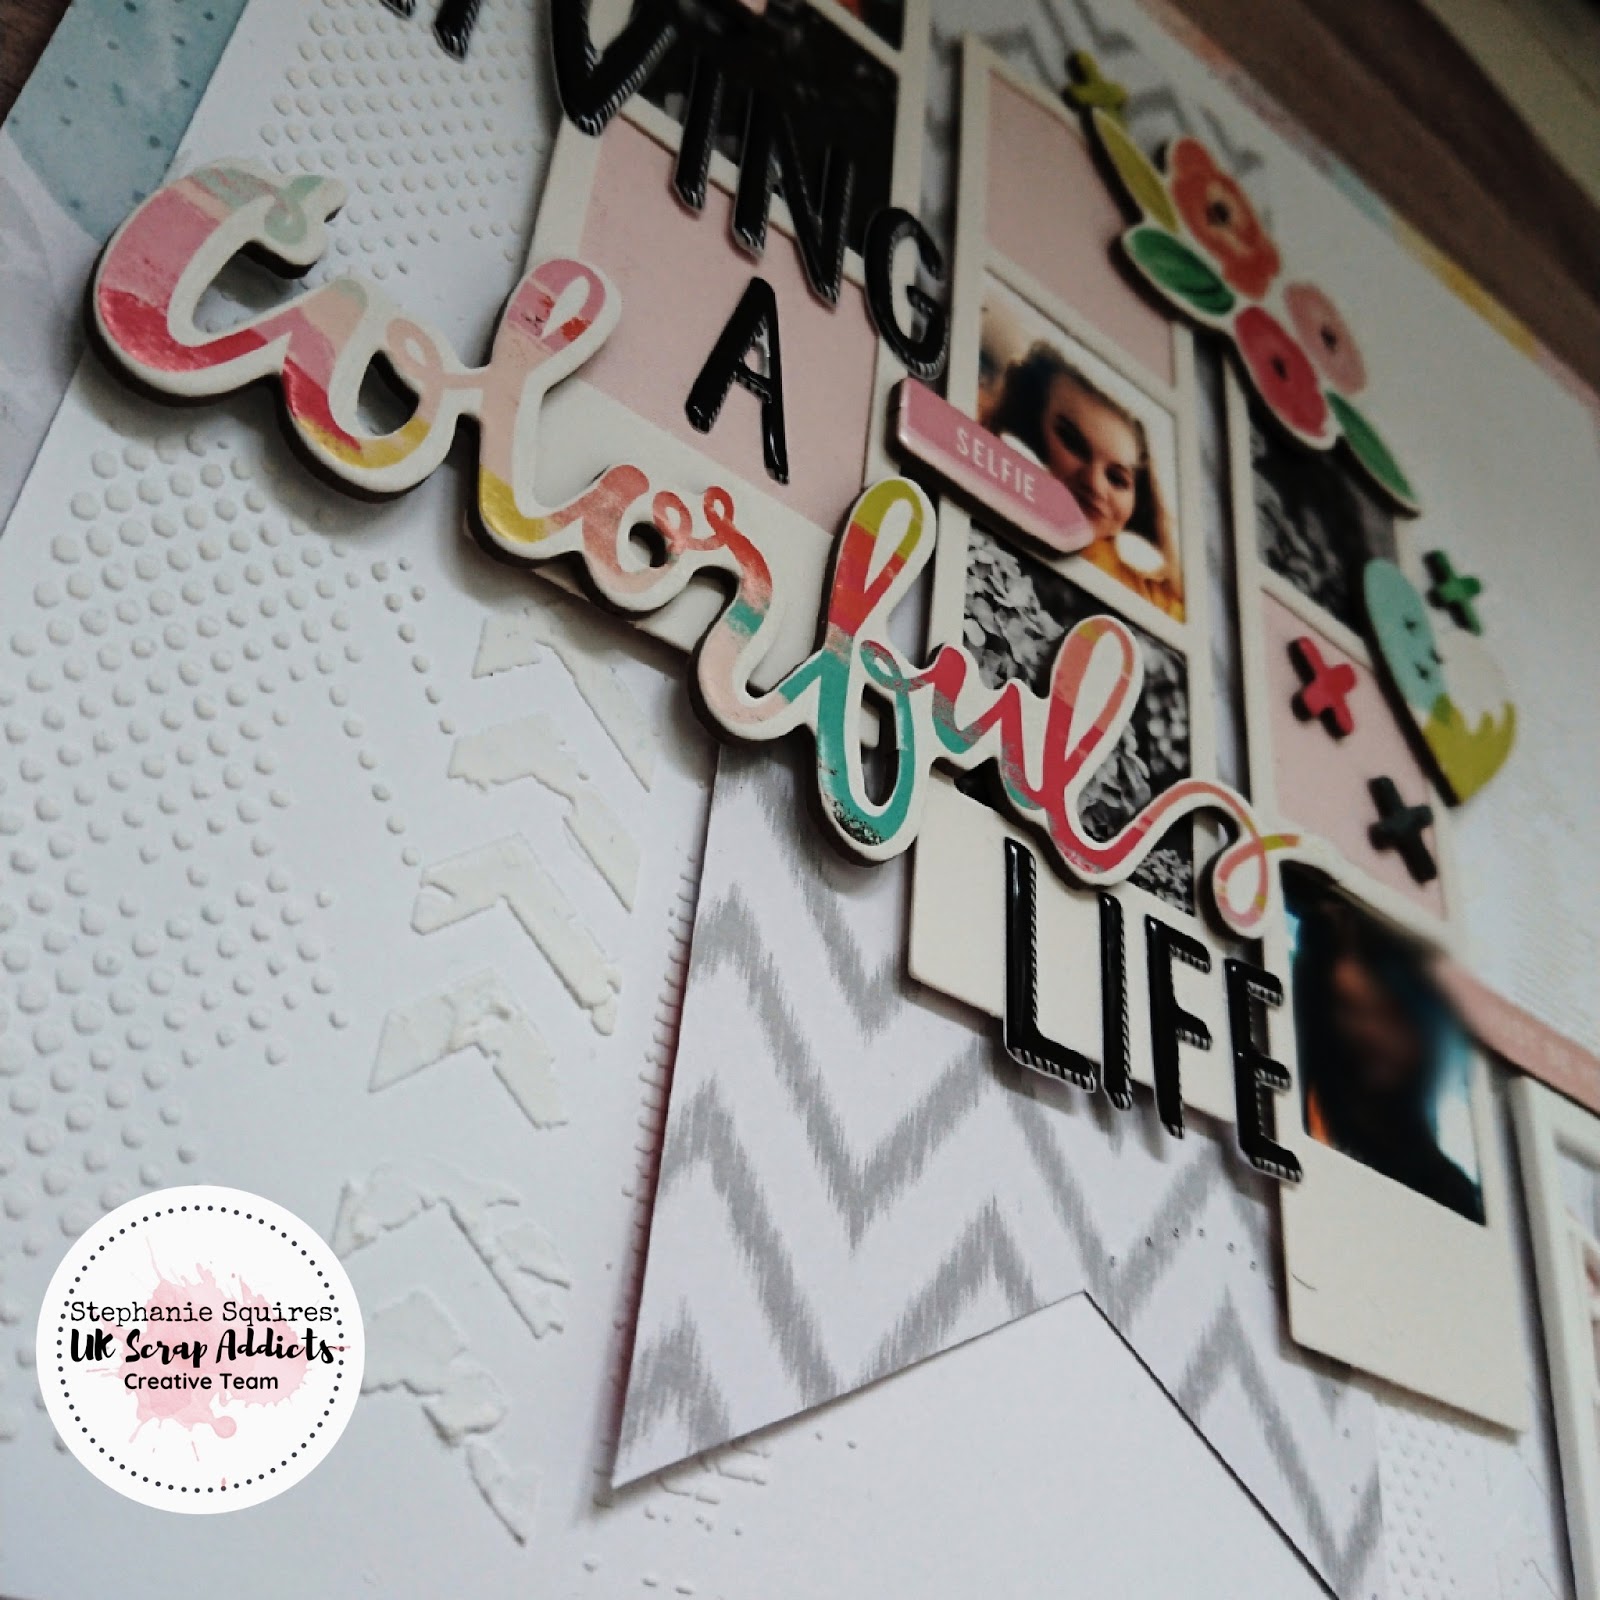
So this months challenge is "Mixed Media" I've gone easy with the mixed media as this is a real challenge for some so I was cautious and I've (hopefully) shown that a little texture paste can add depth to your page and to use mixed media you do not need to add a colour explosion!


I started by trimming my white card stock down to an 11 inch square and then with a stencil that has chevrons, dots and stripes on it I laid it on my page and with a plastic palette knife scraped white Ranger opaque paste all over the stencil.  I done this twice leaving about 3/4 of my page covered in paste.  I set it aside and washed my stencil and palette knife immediately as it can be quite tricky to get off if you leave it on for too long.


I gutted a piece of circle card leaving a one inch boarder and sticking my now textured card on to it.  I cut a large banner out of some grey chevron paper and places that off centre towards the left of the page.


I mounted my photos into some cardboard photo mounts that I had bought an age ago from Typo and where there wasn't photos I used grey and pick card to infill the gaps.  Once this was completed I staggered them across the banner on foam risers.  I found a lovely perspective from Bramble Fox which I backed in the border paper and popped that in the bottom right hand corner.


I used some thickers to create part of the title and a chipboard accent from Pink Paislee for the other part.  I used some more chipboard accents from the fancy free collection from Pink Paislee to complete my page.

Thank you so much for reading....until next month :o) happy scrapping...

Steph xoxo


Thursday, 9 May 2019

We Sparkle - Stephanie Squires - Paige Taylor Evans cutfile - 12 x 12 Fussy Cutting Layout


Hello scrapbookers!

Steph here with my version of this months challenge!

Sooooooo this months challenge is fussy cutting...something I both love and hate equally!  I love to fussy cut sitting in front of the TV or going on a journey or doing something that doesn't eat into my scrappy time I hate to fussy cut when I only have a short time to scrap book and spend an hour of it fussy cutting lol!!


I started with a beautiful textured piece of floral paper from Carte Bella's Flower Market collection.  I gutted the paper leaving a one inch border.  I trimmed my cutfile down to an 11 inch square and backed the hearts with a blush paper from Crate Paper's La La Love collection.


Next I stuck them to the pack of the paper with magic tape which enabled me to tuck the flowers that I fussy cut inside the edge of the hearts without any problems and sewed round the "Love you" piece of the cutfile and off set it on foam risers by one of the hearts.


I added my photos to the centre of the layout on a white photo booth strip and added a black perspective negative which I had backed in gold glitter card and added some chipboard accents to the top right of the layout and near my photos.


Lastly I added the title "We Sparkle" and a few puffy stickers around the photo and that was it....layout complete.


I hope you have enjoyed this months layout and please add all layouts to our facebook page in the correct album and tag UK Scrap Addicts on your Instagram posts....

Until next month.....happy scrapping....

Steph xo