Showing posts with label #paigetaylorevans. Show all posts

Tuesday, 25 August 2020

Perfect | Kirei Baldwin | Moodboard

 Hi UK Scrap Addicts!

Kirei here with my layout for this month's fab 'Moodboard' theme... now I love a moodboard as there are plenty of options to inspire you to create a layout. 


For my layout I was inspired by the colours from the moodboard which reminded me of the new Paige Evans 'Go the Scenic Route' collection so that was where I started... I also added butterflies and chipboard dots that reflected the smarties on the icecream sundae! 


I fussy cut the large mandala pattern and attached that to white cardstock using foam pads to create some dimension.

Then I added a strip of bright pink patterned paper across the middle of the layout as a base for my photos. 

My three photos are mounted onto some coordinating patterned paper with the edges distressed. Then I stuck them down with double sided tape on the bottom edge and foam pads on the top edge, this adds dimension as I don't like everything stuck flat. Next to the photos I added a journalling card with distressed edges.


Above and below the photos I added lots of the matching ephemera, chipboard stickers and enamel stickers along with some gold thread.


I added a title using the colourful matching Thickers and that was me done!


I hope you've been inspired to use the 'Moodboard' for a layout this month, don't forget to share over on the UK Scrap Addicts Facebook group or tag us on Instagram with #UKScrapAddicts if you've played along this month! 

Happy Scrapping!


Tuesday, 3 March 2020

Together| Zoe Hailey Zola28 | Vertical Design


I was really looking forward to creating a layout on the theme of vertical design, I even sketched out some ideas (which I hardly ever do!) and then I started creating and made something totally different..... Anyone else do that or is it just me?

I wanted to use up some of my stash before working with new goodies, so this layout was made using the Pink Paislee Paige Evans collection "Truly Grateful".

My design focussed on a central vertical column with different paper layers. I distressed the edges of these and did some random stitching in black. This helped to bring in the black from the glasses that me and my daughter are wearing in this snapchat filter.


I included two ephemera clusters one slightly to the top right and the other to the bottom left to balance it out. Flowers were the obvious choice due to the photo and I ensured I had many dimensions adding things on foam, tucking bits in and including wooden buttons and sequins for even more texture.


I really love the colour in this collection and it was so quick to create this layout. Share your vertical design layouts over on the UKSA Facebook Group for everyone to see.


Happy Scrapping

Zoe Zola28


Wednesday, 11 September 2019

Hello | Stephanie Squires | Selphy

Hi all and welcome to this months blog post...

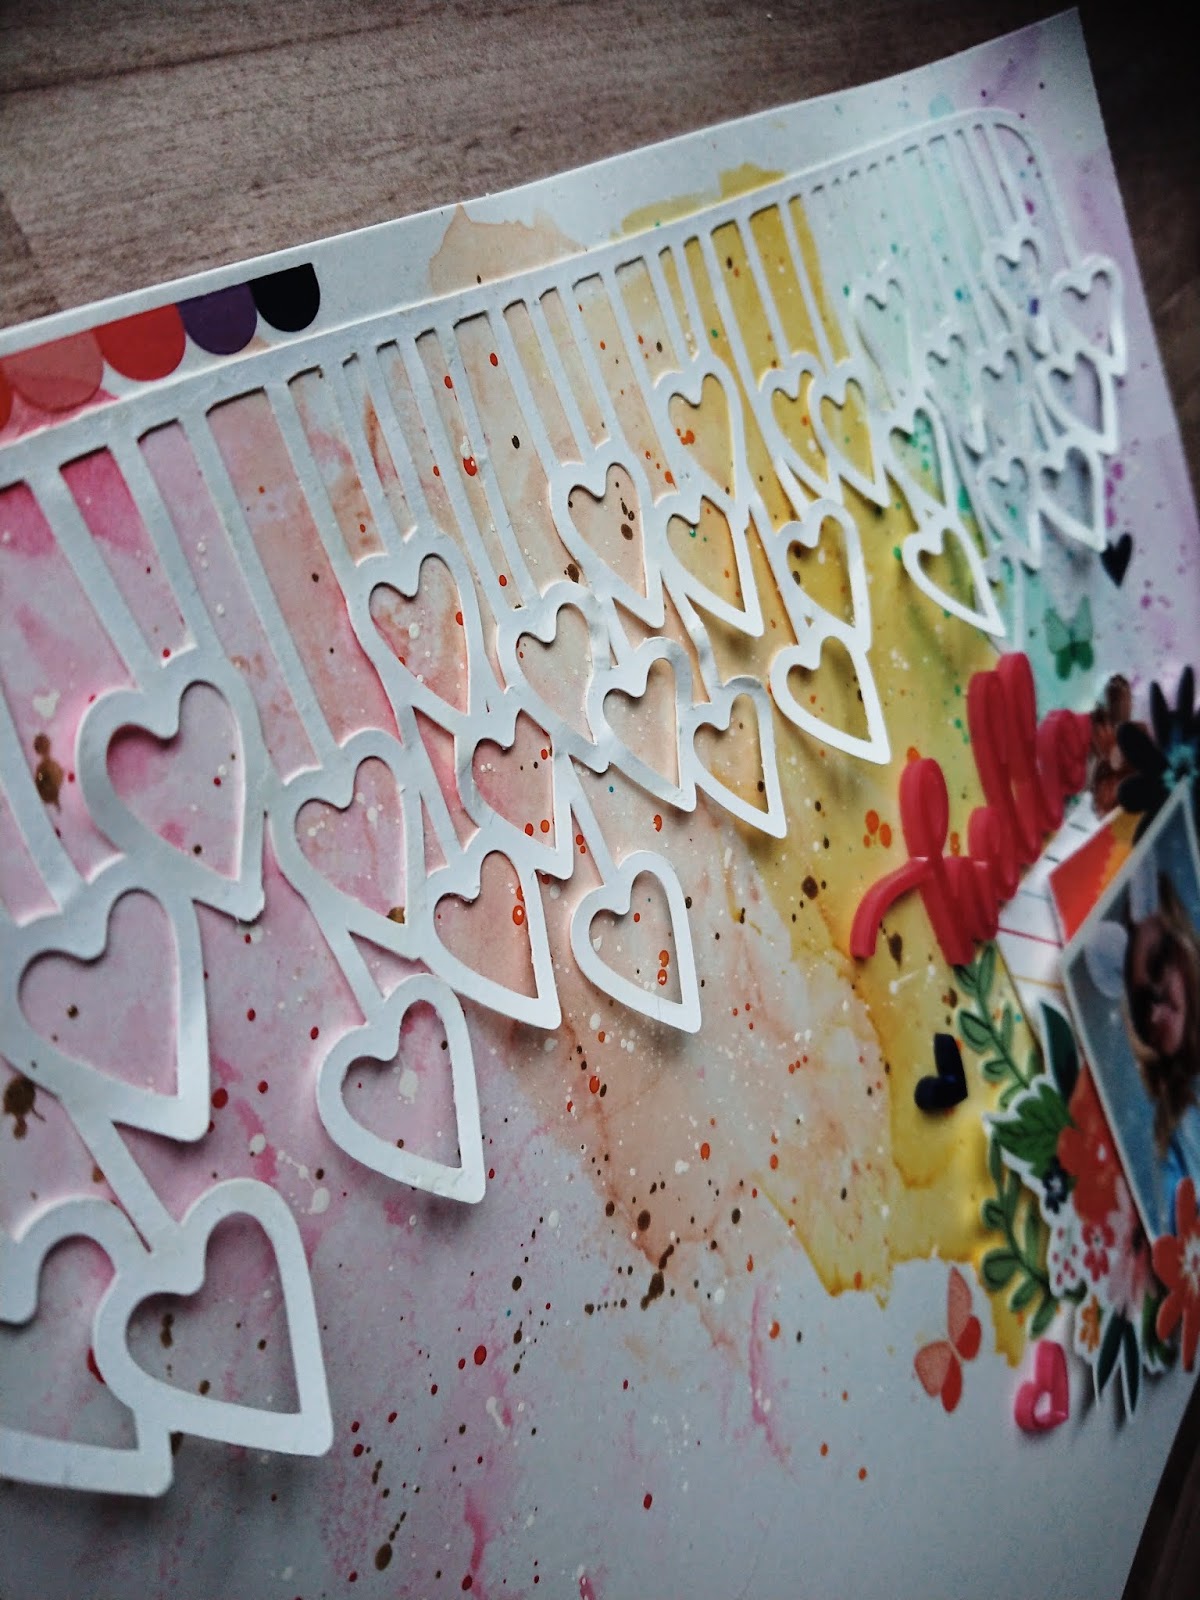
So I had a great time with this moths challenge by making a mixed media layout!  I used a sheet of Vicky Boutin's mixed media paper and some pastel prima water colours.  I started with the pink and smooched it on the top left hand corner of the page.  I mixed the yellow and pink together to make a peachy colour and then used the yellow.  After every colour I used I made sure that the colour next to it hadn't dried, that the colours over lapped and that I came a but further down the page resulting in the mauve going from the top to the bottom of the page. Once this had dried I flicked the water colours on to the matching colour so it was a much darker shade of the same colour,  I then flicked gold and then white to complete the background.  

I stuck the cutfile on the top of my page just sticking the top part so the hearts were all lifting (I had previously used this cutfile as a mask so it had white texture paste on it which helped with this design.

Once this was stuck down I created my photo cluster.  I used lots of bits and pieces from Paige Taylor Evans's Grateful range to do this.


I cut two pieces of paper to 3 x 4 and tucked them behind the photo using foam pads to get the dimension that I wanted.


I then tucked in the ephemera around the photo and the paper mounts using foam pads as and when to give the height I needed.  Next came the perspectives and then the transfers were used to complete this layout!


And here it is my finished layout!  


Please let us know how you got on with this challenge and tag us in on Instagram so we can all see what you have made....Until next month my scrapbooking friends....

Take care,

Steph xoxo


Sunday, 21 July 2019

Love | Karen Moss | Sewing


Hello, hello lovely scrappers - Karen here with my response to the sewing prompt for this month.

I wanted to do something a little different and decided to cross stitch a border and photo mount .


If you would like to see my process for designing and completing this layout I have a video over on the U K Scrap Addicts YouTube channel here.

Don't forget to check back to see what the other UKSA ladies have been adding sewing to their pages. 

Karen x


Tuesday, 9 July 2019

Hello lovely | Stephanie Squires | Double page Sewing


Hello Scrapbookers!

A very warm welcome to this months blog post!!

So hand sewing...it's a funny one, some people love it, some people hate it...Well I sit on the fence with it...in one way I love it whilst sitting on the sofa in the evening chilling out sewing on a layout - But sewing at a class or on a retreat - No thanks lol I'll draw it on or sew it at a later date!

So it's as much of a surprise to me as it is to you that this layout is a double....I certainly didn't plan it that way!  I started with the page on the left, gutted the yellow and pink spotty paper with a one inch boarder and I cut the pink bazzill cardstock down to an eleven inch square.  I added a fringe of pink netting to the left hand side of the bazzill cardstock and stuck it on to the spotty boarder.


I sewed the paper down the left hand side and along the top.  Unfortunately my bobbin ran out whilst sewing on the right.  I knew from past experience if I'd sewn over the top of the holes it would have missed some and looked a bit messy so I opted for some glitter card to cover up my mistake - I added a small amount of glitter card to the left hand-side too to balance out the bling!


I cut a stripy piece of paper 8 x 5 and popped it onto my layout just off centre.  I then organised my photos all on foam risers and started adding tuckers (tuckers are small pieces of paper or embellishments you tuck round or under your photos or other pieces of paper) I added a rosette embellishment, a slice of fruit, a bumble bee, sunglasses and flamingo stickers and a gold perspective heart and the word "Hello" to complete this layout...now onto the new one...…………


So I had all these scraps left in a pile on top of another sheet of pink cardstock...It was begging to be made into a layout so who was I to refuse...

I trimmed the manufacturing strip off of the pink card stock before popping the spotty piece of paper (10 x 6) onto my layout.  I splattered gold paint onto the page before I added a piece of the glitter card (6 3/4 x 5 1/2)


I decided to stagger my photos on the page so they were in a different formation to the other page.  I added lots of bright floral embellishments to the page and another rosette.  I added the title Lovely and a bunting stickers  before adding the smaller sub titles, the hand signals, camera and balloons.

Once I'd done all of the above I had forgotten that I needed some stitching!  I punched holes all around the edge before chain stitching round the edge with white embroidery floss and that was it....my surprise double page was finished!


Thank you very much for reading...…….until next month.

Best wishes

Steph xoxo

Saturday, 29 June 2019

You're My World | Essie Peck | Mixed Media


I LOVE MIXED MEDIA !! There I've said it - or rather shouted it !! I know it's not everyone's cup of tea but I have always been a messy crafter and so MM is just right up street. But it doesn't mean you have to go all out and create some super, all over background. For this layout although I did start by adding some colour with a little packaging technique and distress inks on the background, the focus of my mixed media techniques was to create on individual circles of cardstock, that way if I had messed it up, I hadn't ruined the whole layout and could just redo that one piece ! 

I used Nuvo embellishment mousse in three colours through a stencil

Stamping, distress inks, Shimmerz water colour paint and stitching

I also added some stamping to the background.
Then I just arranged all my circles and my photo on the background with some embellishments and borders of patterned paper. So if you're a bit unsure about going straight in with Mixed Media over your background paper or on large areas, why not try creating smaller samples like I have. You can see exactly how I created my page on our YouTube Channel - 

Don't forget to share your layouts with us over on our Facebook page, or tag us on Instagram if you've been inspired by this months theme.


Saturday, 15 June 2019

Happy | Charissa Barlow (Guest Designer) | Mixed Media

We're pleased to have Charissa join us as Guest Designer this month for our theme of Mixed Media.

Over to you Charissa.....

Hey everyone, Charissa here.

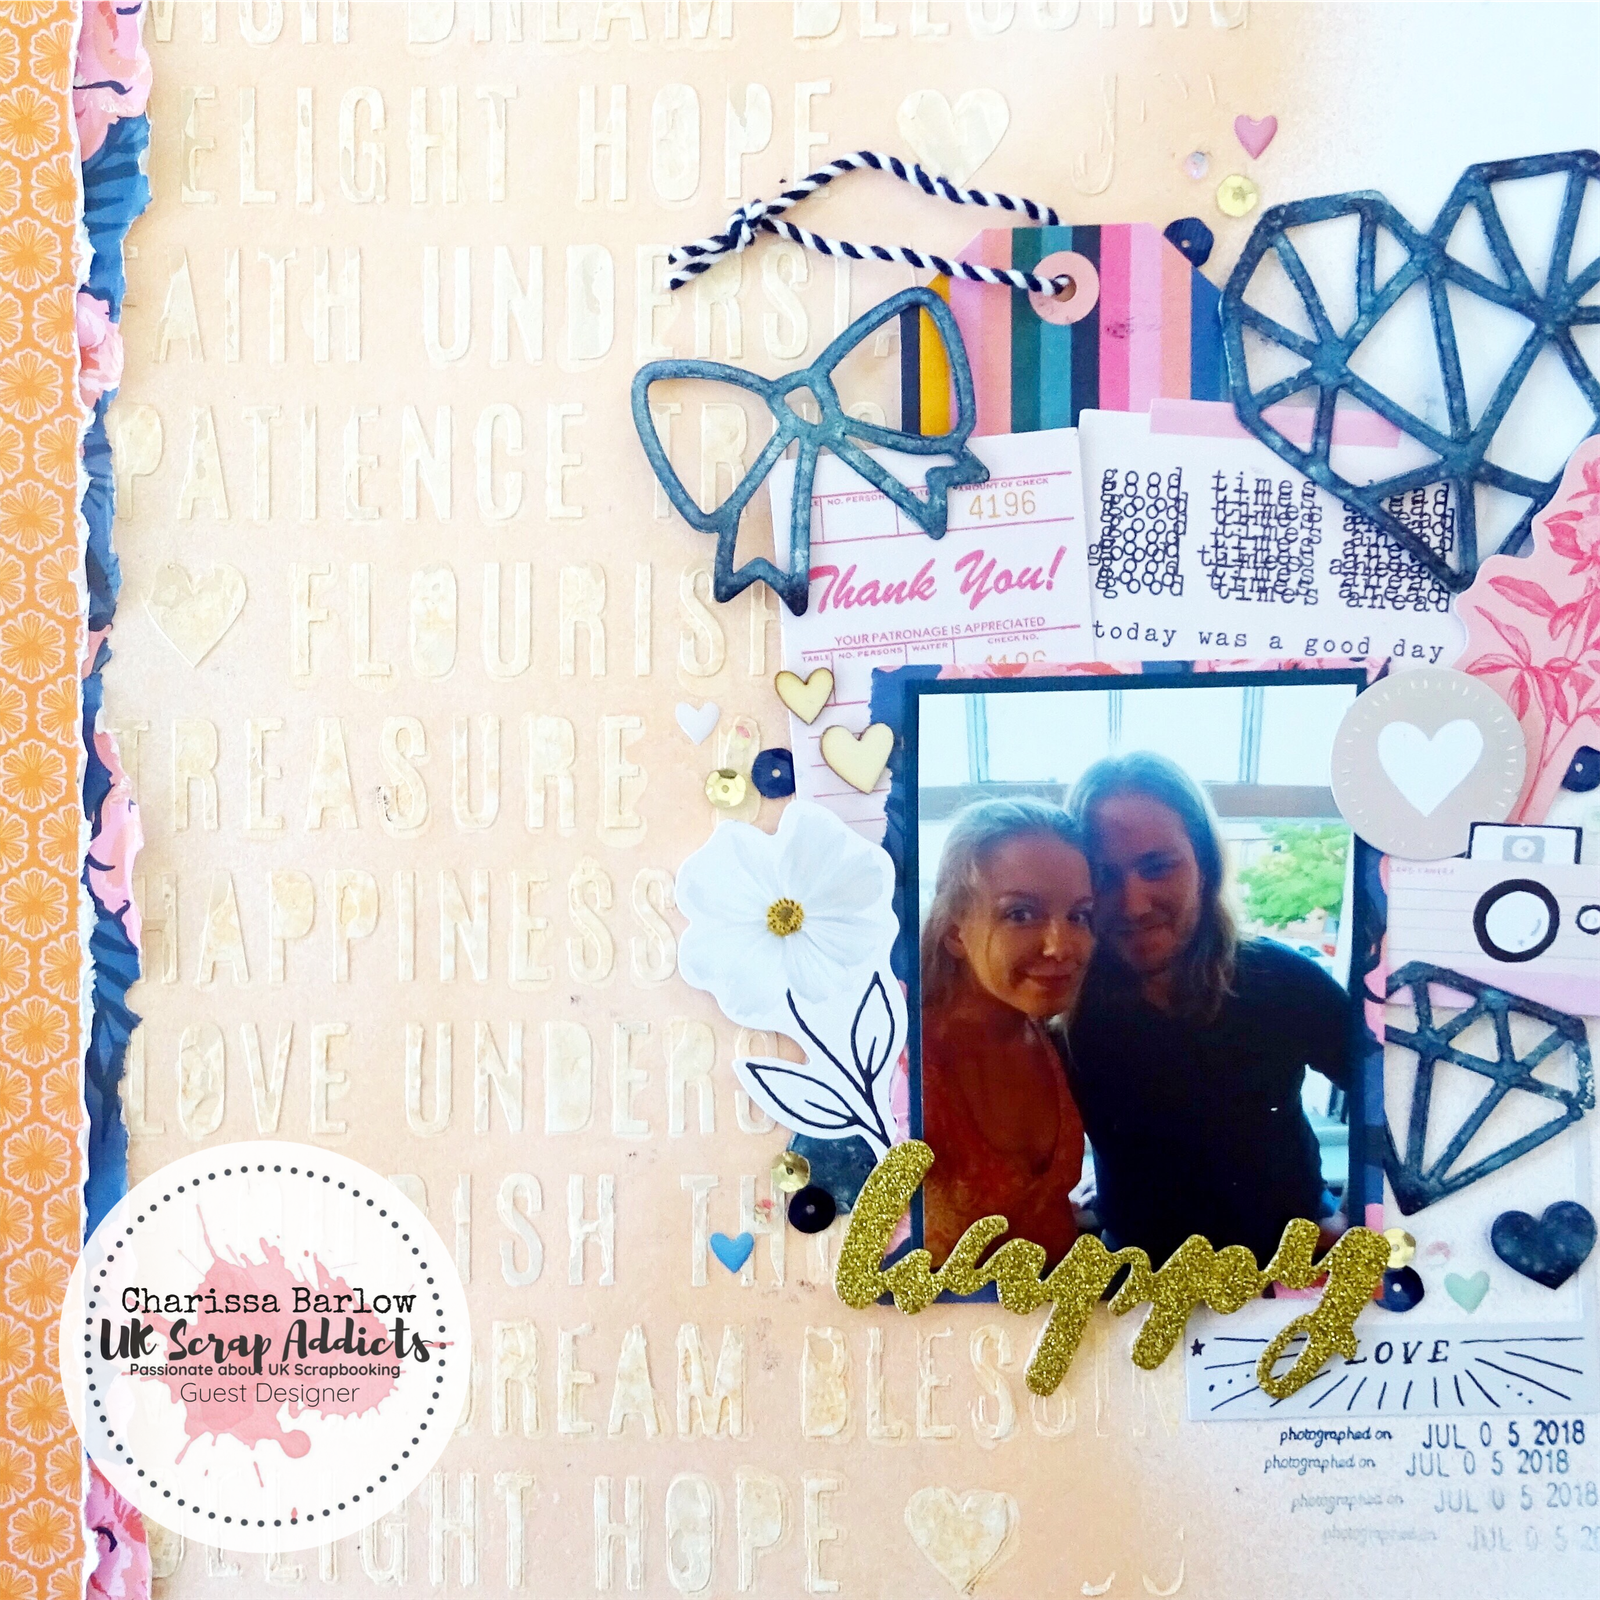
The Mixed Media theme was perfect for an idea I had using the June Mind the Scrap kits. I used texture paste through a Heidi Swapp word stencil to create my background. I wasn't happy with the colour of my texture paste so allowed the paste to dry and put the stencil back into position and applied gesso through it to whiten up the words. I was much happier with this result. Once this was dry I then added some splashes of Heidi Swapp Colour Shine in gold. I love how the words pop from the back ground. 


I created a border on the left using papers from Paige Evans Horizon collection and Crate Papers All Heart collection. These papers also featured underneath my photo as layers along with some green cardstock.


I then built a cluster around my photo with the All Heart die cut ephemera. To create some dimension and lift I used foam pads under some of the pieces of ephemera and added some twine from my stash into the tag. I then coloured some Moxy stickers with some navy Heidi Swapp Colour Shine and tucked these into the clusters. It was all finished off with some sprinkling bits from Pink Paislees new Indigo and Ivy collection. And not forgetting the date stamp!!


Charissa x

Sunday, 9 June 2019

Living a colourful life | Stephanie Squires | Mixed Media


Hello all and welcome to this months blog post!

So this months challenge is "Mixed Media" I've gone easy with the mixed media as this is a real challenge for some so I was cautious and I've (hopefully) shown that a little texture paste can add depth to your page and to use mixed media you do not need to add a colour explosion!


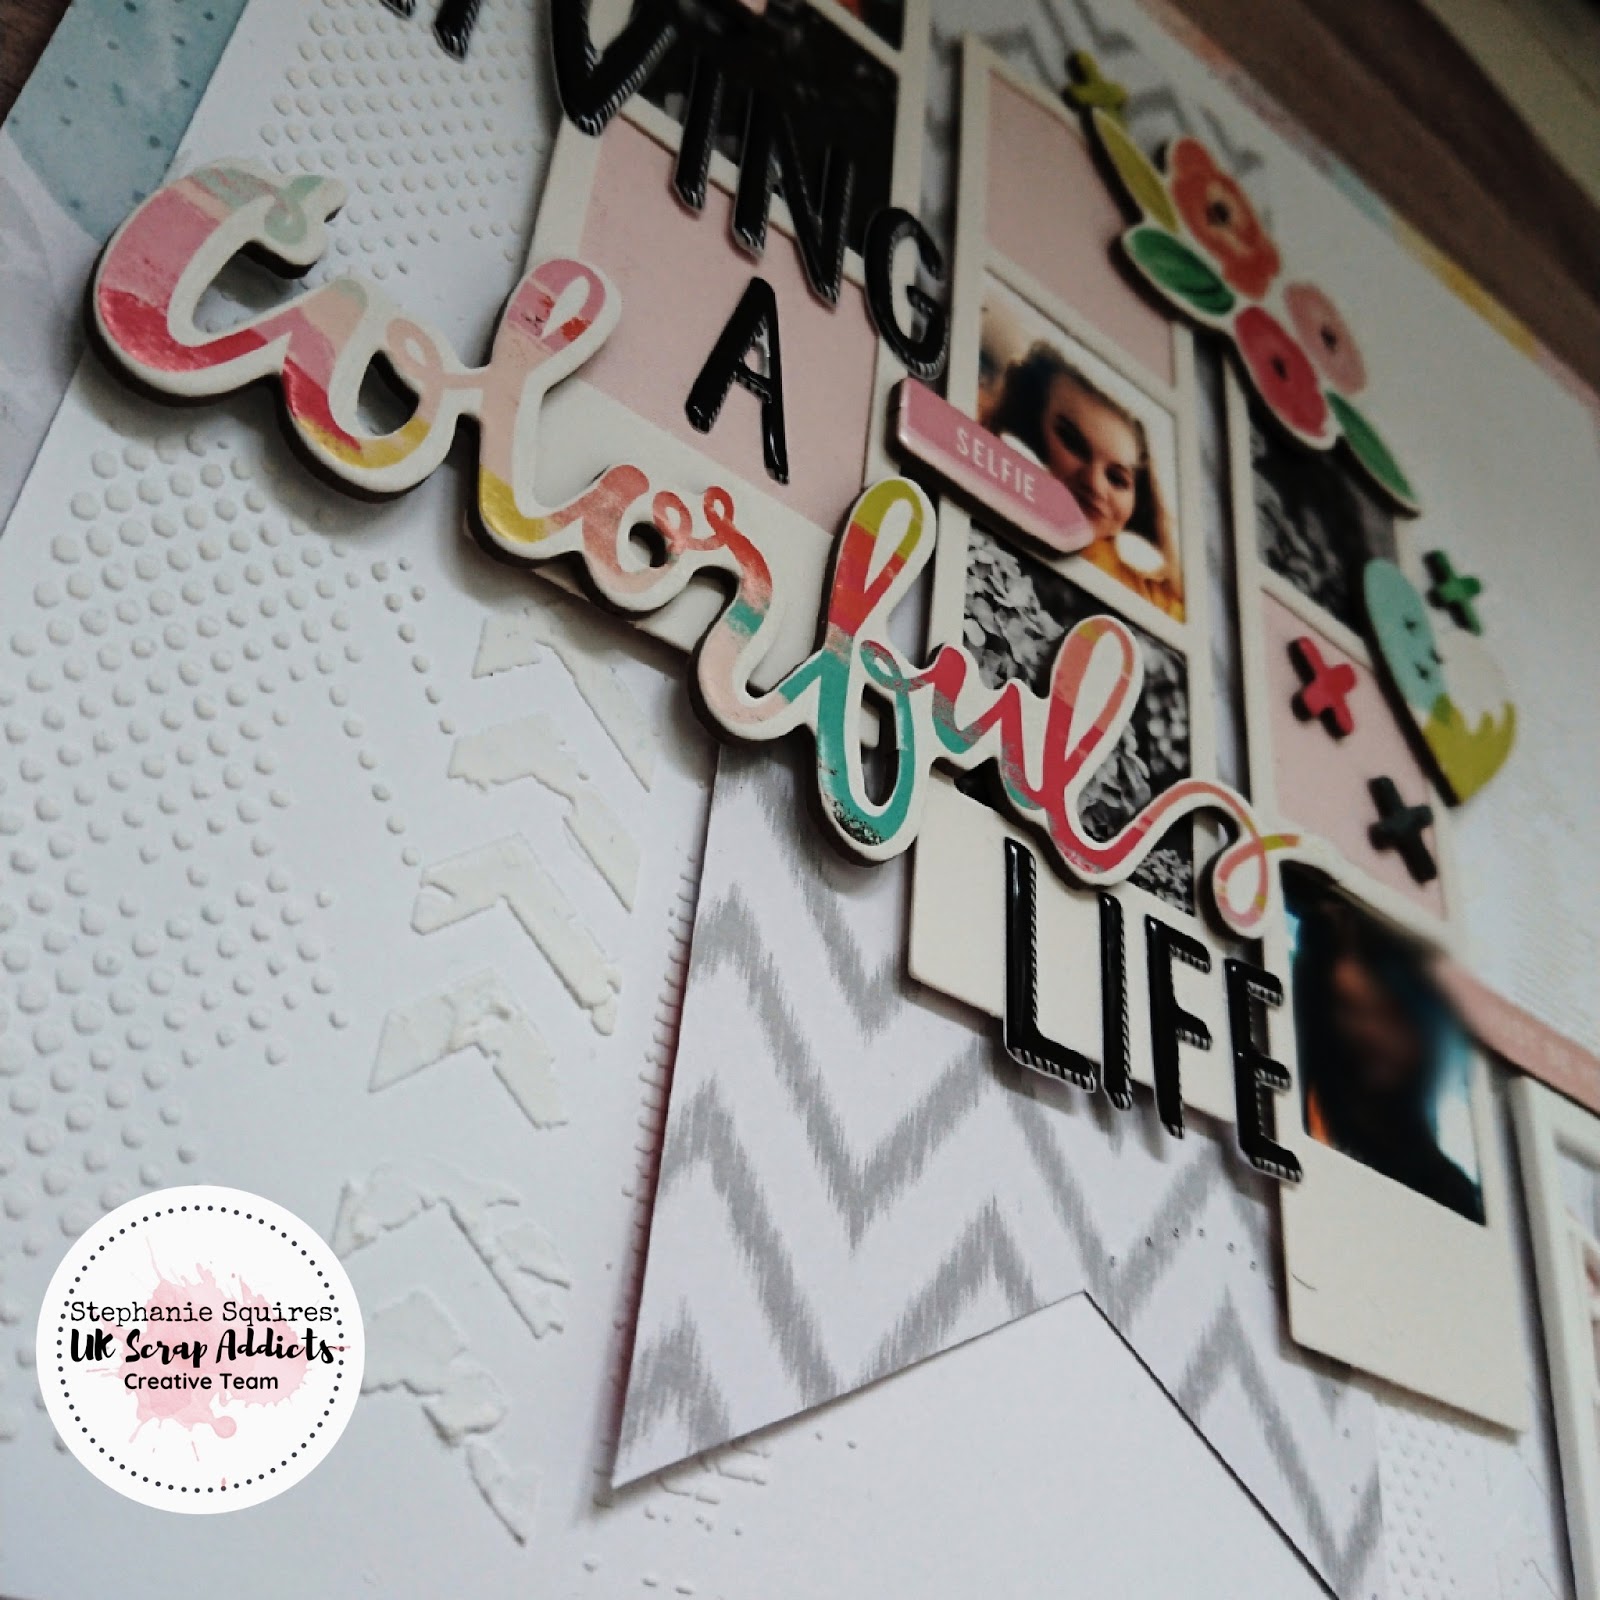
I started by trimming my white card stock down to an 11 inch square and then with a stencil that has chevrons, dots and stripes on it I laid it on my page and with a plastic palette knife scraped white Ranger opaque paste all over the stencil.  I done this twice leaving about 3/4 of my page covered in paste.  I set it aside and washed my stencil and palette knife immediately as it can be quite tricky to get off if you leave it on for too long.


I gutted a piece of circle card leaving a one inch boarder and sticking my now textured card on to it.  I cut a large banner out of some grey chevron paper and places that off centre towards the left of the page.


I mounted my photos into some cardboard photo mounts that I had bought an age ago from Typo and where there wasn't photos I used grey and pick card to infill the gaps.  Once this was completed I staggered them across the banner on foam risers.  I found a lovely perspective from Bramble Fox which I backed in the border paper and popped that in the bottom right hand corner.


I used some thickers to create part of the title and a chipboard accent from Pink Paislee for the other part.  I used some more chipboard accents from the fancy free collection from Pink Paislee to complete my page.

Thank you so much for reading....until next month :o) happy scrapping...

Steph xoxo


Tuesday, 4 June 2019

Loving Every Second | Di Willcox | Mixed Media

Good morning! It's Di here with my mixed media layout for the month of June.

Mixed media is a bit of a 'Marmite' moment for some people and I fall in to the love it category, although I do love a bit of a clean background too. I've got so many different mediums for creating mixed media backgrounds so my first decision was which materials to use...


So I chose my art crayons and a Vicki Boutin stencil. 
I started of by scribbling a crayon onto some packaging and spritzing it with water before dabbing it onto my white cardstock. Once I was happy with the coverage and colour blends I used a dauber sponge and applied the dry crayon colours through the stencil. To help it blend I dab my sponge onto a wet wipe between applications just to add a little bit of dampness, without getting it too wet, otherwise it could cause the card to peal/ rip. Lastly, I added a few splashes with a watercolour brush.


Once the background was dry I matted my photo and added some paper layers from the Amy Tangerine 'Stay Sweet' paper pad and used floral embellishments and hearts from Paige Taylor Evans/ Pink Paislee's 'Horizon' collection. I also doodled a border around the edge of the page to bring it all together.
And here is the finished page....

There is also a process video, here, if you would like to see how this page came together.

Don't forget to share your mixed media layouts with us on Facebook and tag @ukscrapaddicts on Instagram!

Di x