Sunday 29 March 2020

Thomas | Amy Kattenbelt | Vertical Design

Good Morning Scrap Addicts,

Hope you are all keeping well and safe. I'm sharing my take on a vertical layout today. I've gone old school using plenty of patterned paper rather than a white cardstock background.
The papers I am using are from an older Paige Evans collection. I am using 3 small photos, stacked one on top of another to create a vertical column. This is then accentuated with a full length magenta floral patterned paper strip. Even the larger yellow block of patterned paper runs vertically.

I added some clusters of embellishments in a triangle around the photos and stamped my journaling to the background ledger paper.


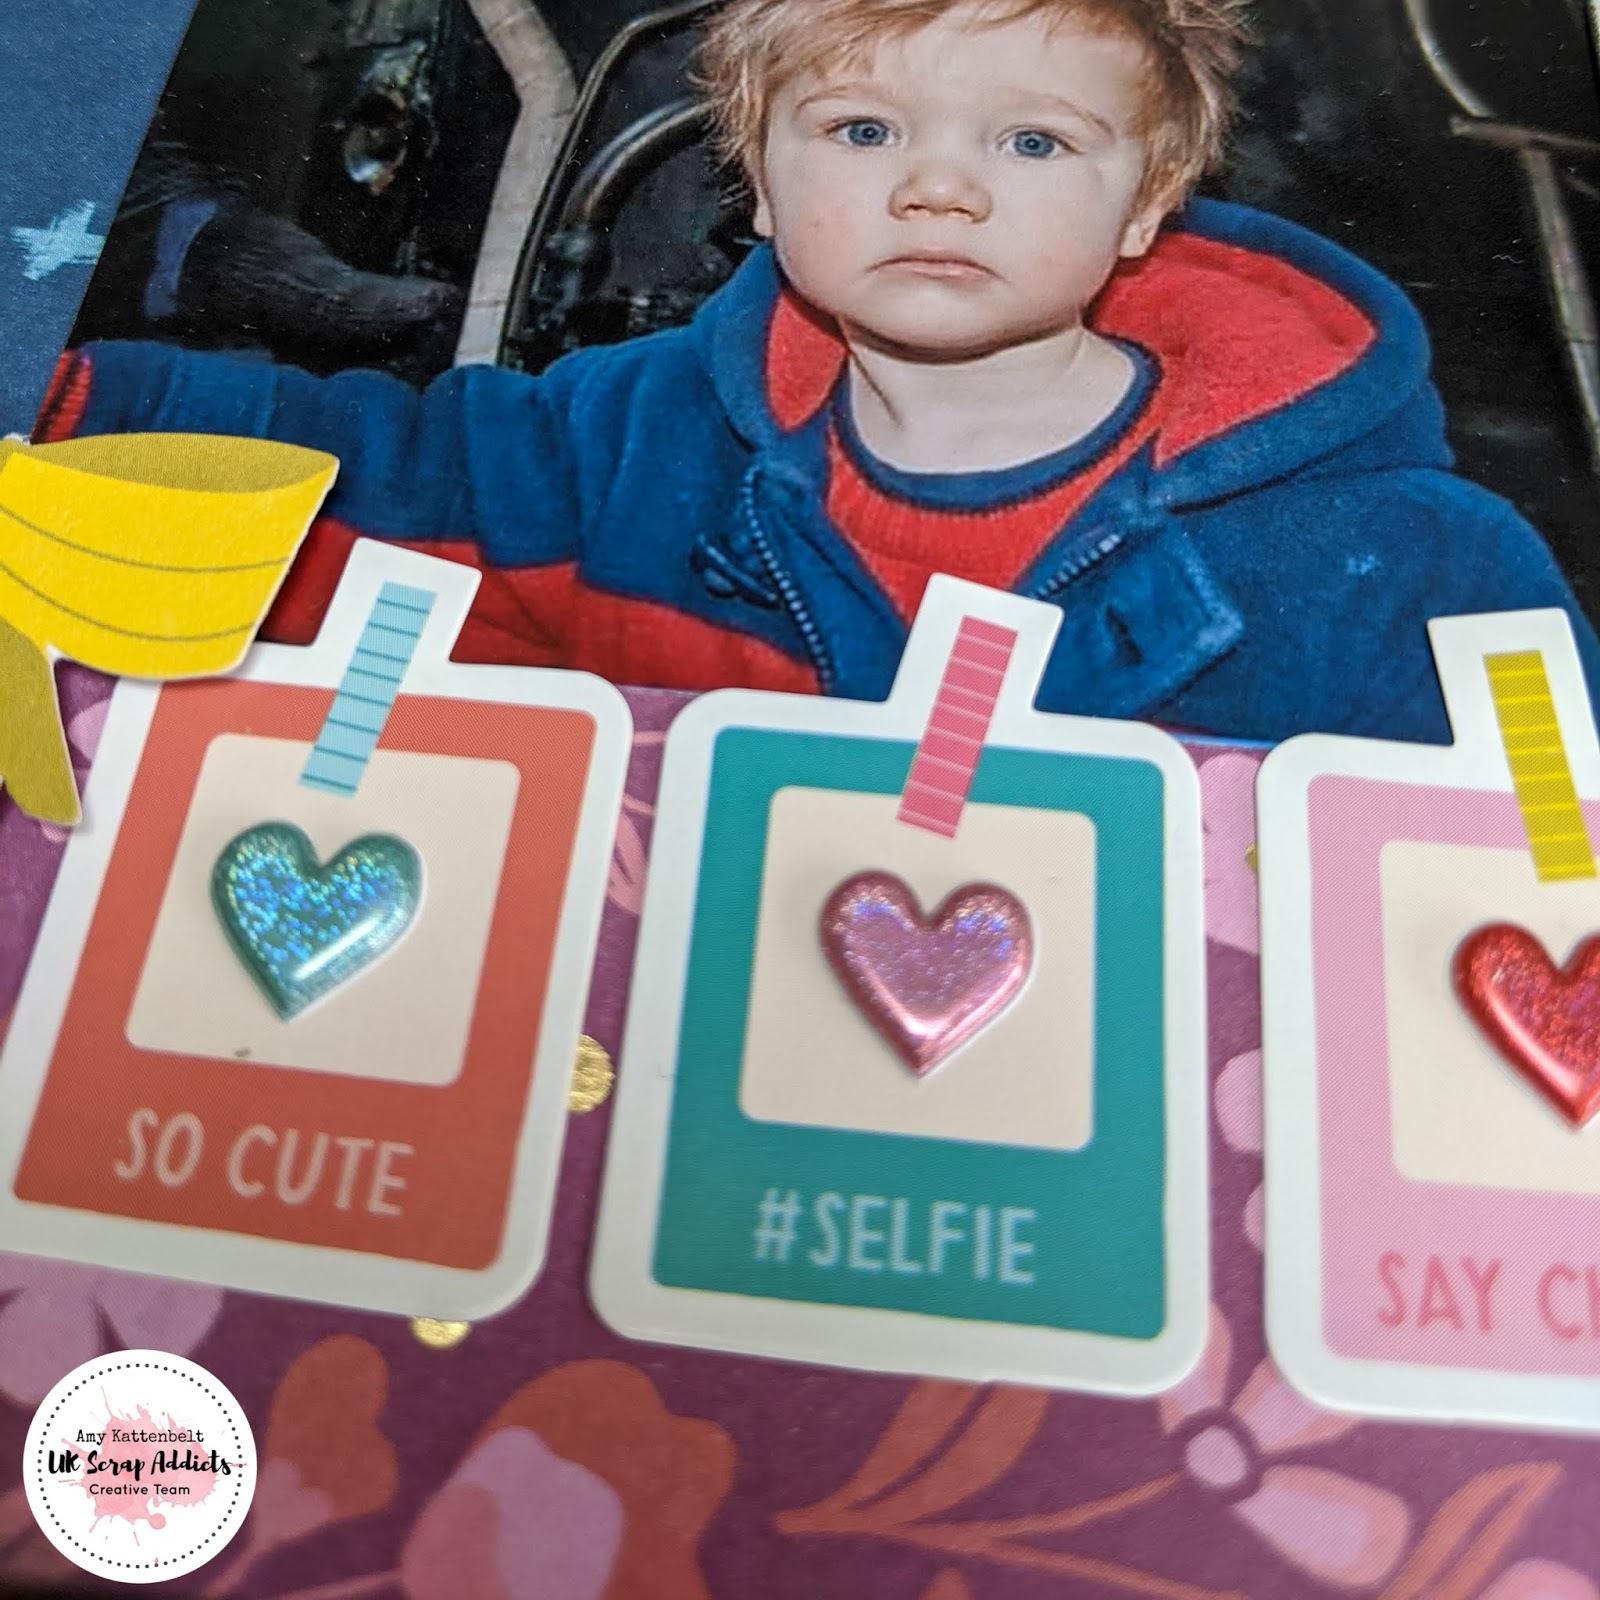
I finished the layout off with some little cute glitter puffy heart stickers.


This would be a really quick and easy layout to scraplift, you could really add your own style. You could go with the more modern white background and use new papers, or go retro like me and use up some of your older stash. Did you spot I've also used older photos too!

I hope you will understand that at the moment it is not always possible for me to be able to bring you a process video along with my monthly Creative Team layout, but rest assured that the UKSA team will continue to bring you plenty of inspiration. Join us in a few days time for a new monthly theme!

Stay safe, and stay at home!


Friday 27 March 2020

Favourite Moments | Kirei Baldwin | Vertical design

Hi UK Scrap Addicts!

Kirei back with a new layout for this month's 'vertical design' theme. Now I like a vertical design so this was right up my street!


I used the lovely Pinkfresh Studio 'Just a Little Lovely' collection and a fab leaf cut file from CUT to YOU.


Firstly I layered up a piece of patterned paper onto white cardstock and then stitched around the edges.

I printed my photo in black and white so that it worked better with the colours in the Pinkfresh Studio collection and then mounted it onto a few pieces of the patterned papers.


Under the photo I tucked in two of the 'Leaves' cut files cut from white cardstock and a few of the phrase cards that I fussy cut from one of the patterned papers. To finish off the vertical design grouping I added some of the matching ephemera, puffy stickers, word stickers, layered stickers and enamel dots.


I added a small cluster to the left side of the layout to give it some balance.


To finish off I added a title using the fab puffy phrase stickers and mini puffy alphas.


Hope you've got some inspiration to try a vertical design if you haven't already! Pop on over to the UK Scrap Addicts Facebook group to share your layouts and don't forget to have a look through the blog at all the other great inspiration that the Creative Team have come up with for this month's 'vertical design' theme..... thanks for looking and I'll see you next month!

Happy Scrapping!


Wednesday 25 March 2020

Create the Dream | Jackie Ashton | Vertical Design

Hi Crafters,

Jackie here, with March theme - design a vertical layout.

For my layout, I decided to have my vertical detail in the centre of the page, and keep everything within the main column.


I added some extra details to the white cardstock by using a stencil and stamps from my stash.

I machined stitched the piece of patterned paper down the center on my cardstock. 


I added 3D foam to my photograph and added several patterned papers behind it.

Finishing the layout with word stickers and chipboard stickers


Please join us on our Facebook page, and share your layouts with us, we would love to see them.

Thanks for stopping by

Till next time


Happy scrapping


Monday 23 March 2020

Love | Keighley Brennan | Vertical

Hey UKSA, Keighley here today sharing my layout for our theme this month. I love vertical layouts, they work really well on A4 layouts. I started off by adding a strip of patterned paper down the right side of my layout and added lots of black paint splatters, I did need to come back at the end and add a couple more splatters because I covered up quite a lot of them. 


I punched circles of patterned paper in different sizes and also punched my photo into a circle. I attached these down the join of the pattern paper strip and the cardstock, over lapping them and popping some up on foam. I also looked for any circle elements within the die cuts and stickers and tucked those in too. 


I finished off by adding some fussy cut butterflies and some puffy hearts that were gold but I coloured in with a black sharpie so they worked well with my layout, something I’ve been doing a lot recently to get my stash used up. 


You can watch my layout process here on the UK Scrap Addicts YouTube Channel. 

Please join us on the Facebook group where you will find lots of inspiration from the team aswell as members of the group.
Thank you for stopping by, 

Keighley 

Thursday 19 March 2020

Lisa-Jane Johnson | Vertical Design | Stay Colourful

Hi scrappers!  It's Lisa-Jane from Pretty My Page here with you today with my layout for the "vertical placement" challenge.

I hope you are all keeping well and have good supplies of the important stuff... cake, tea, double sided tape, patterned paper...  At least we won't run out of things to do if we are quarantined, but if you run out of photos, or fancy a laugh, you could try taking some pictures with Snapchat filters like I did here very late one night on a retreat.


I've taken inspiration from a couple of similar layouts that I've seen on the Cocoa Vanilla social media using the striped multi-coloured papers that they usually have in each collection.  I was saving the last strip of mine so it was a good time to use it on a page rather than me sitting admiring it.


I tore it into pieces and spread them the full height of the page but I wanted to overlap them so I needed more than the 12 inches of the strip.  I mounted my base cardstock onto a coordinating border and then added in some denser patterns from the border strips - I don't throw much away!


I had some Simple Stories stickers from a planner pad that matched really well so I spread those along the rainbow with some fussy cut butterflies and die cut hearts.


Finally sprinkled some enamel shapes and dots around the rainbow and added the Stay Colourful die cut for the title.  Spelled the UK way!  Huzzah!  

I've been meaning to do a colour on colour layout for a while and I'm so pleased with how everything came together on this one.  I hope you've been inspired by the team's layouts so far!

Tuesday 17 March 2020

Be Strong, Be Brave, Be Fearless, Be Yourself | Karen Moss | Vertical Design

Hello, Karen here with my March page for UKSA and this month we are focussing on vertical designs.  Now, I usually make pages with horizontal or diagonal designs so this was a little different for me but I have to say I really like the end result.


When I saw the Bouquet paper (with its vertical flower and owl design) from the Uniquely Creative Wise and Free range the design of my page was decided - how easy to just cut that out and add it to my layout. 


To emphasise the vertical design elements I punched a piece of pink card to back my fussy cut flourish of flowers.


I then cut the gray flowers from two pieces of paper to add either side, along with some additional flowers to add to my central flourish.


All that was left to do was to add my photos and use some of the words from the 'fussy cutting' sheet for my title.


You can see my process video here - but I will apologise in advance as the storage on my phone was full and it kept cutting out and missing bits 🙄🙄
Karen x

Thursday 12 March 2020

The Only Way Is Up | Stephanie Squires | Vertical Design


Hello scrapbookers and welcome to this months challenge!

So this months challenge was called "Vertical" I knew I had the perfect photo from my recent trip to Canada where I ate at the revolving restaurant in Calgary called Sky 360.  Along side delicious dinning facilities they have a glass viewing platform so you can see all the way down all 155 metres!!

I cut my white card stock down to an 11x11 square before using a chevron stencil to create the upward motion that I wanted for this layout.  I then gutted my black and white checked paper leaving a 1 inch boarder and stuck the two pieces together.


I tucked some small pieces of paper and ephemera under my photo which I positioned on the bottom left hand side of my layout and placed a circle cut out round the photo of Dad and I to highlight us in the photo.


I added my tagged journaling to the top on my page on some foam riders to give the layout a little bit of hight.


Next came all the arrows!  A great way of using up some old stash that I had for years!  I stuck them down with mat accents as I didn't want them to pop off and finally I found the perfect place to add the plastic ephemera down on the bottom right hand side of the page and that was it....layout complete!


Thank you for reading....until next time....happy scrapping!

Steph xoxo


Sunday 8 March 2020

Smile I Essie Jane I Vertical Design

Hi Essie here with my layout for this months vertical design theme. I started off with a sheet of white Bazill with two hearts cut out that I used the positive shapes from on a different layout. 
 I used papers from the Bloom Street by Paige Evans collection to back the heart shapes and cut a third to add underneath. 
 After hand stitching around the hearts, I added my photos and embellishments in a vertical line down the page. 
 A heart going off the page and with some puffy stickers and a sequin just helps to balance the page.
I hope you are enjoying our theme this month and I hope you share your vertical design pages in the UKSA  Facebook Group. 


Thursday 5 March 2020

Santa Baby | Sheena Rowlands | Vertical Design

Hi there UK Scrap Addicts, Sheena here again x

Our challenge for you this month is to produce a vertical design on your layout. I knew straight away that I would like this challenge and this layout came together really quickly for me.

Santa Baby.


I added a strip of paper down the right hand side of my layout then went in search of my Christmas embellishments.


I matted my photo on some off cuts of patterned paper then began to tuck die cuts and chipboard pieces in and around the photo building up a vertical line.


The embellishments are from various Christmas ranges spanning many years, I just picked the ones out that were suitable colours and went with this cute photo of my nephew. The snowman head is a mini rubber that found its way into my supplies.

When i was happy I adhered it all down using foam pads under some layers to add depth then added my title and a few stars to finish.

I hope this inspires you to try a vertical design and please share with us over on our Facebook group your creations.

Till next time x


Tuesday 3 March 2020

Together| Zoe Hailey Zola28 | Vertical Design


I was really looking forward to creating a layout on the theme of vertical design, I even sketched out some ideas (which I hardly ever do!) and then I started creating and made something totally different..... Anyone else do that or is it just me?

I wanted to use up some of my stash before working with new goodies, so this layout was made using the Pink Paislee Paige Evans collection "Truly Grateful".

My design focussed on a central vertical column with different paper layers. I distressed the edges of these and did some random stitching in black. This helped to bring in the black from the glasses that me and my daughter are wearing in this snapchat filter.


I included two ephemera clusters one slightly to the top right and the other to the bottom left to balance it out. Flowers were the obvious choice due to the photo and I ensured I had many dimensions adding things on foam, tucking bits in and including wooden buttons and sequins for even more texture.


I really love the colour in this collection and it was so quick to create this layout. Share your vertical design layouts over on the UKSA Facebook Group for everyone to see.


Happy Scrapping

Zoe Zola28