Showing posts with label die cuts. Show all posts

Tuesday, 25 December 2018

No Peeking! / Jackie Ashton / Grab 5

Hi Jackie here, my turn with this months theme - Grab 5.  

My five items are

Patterned papers
Wood Veneer
Perspextives
Ink
Die-Cuts and Enamel dots


I started the layout by adding some ink details to my cardstock.


I selected some patterned papers from Echo Park - Celebrating Christmas and distressed the edges before adding to the top and the bottom edges of the cardstock. 


I mounted my photographs onto some patterned papers, which I distressed the edges and added over the inked details.


For my title I used a Bramble Fox Christmas one - ‘No Peeking’, which was perfect for my photographs.


Finishing the layout with some wood veneer and enamel dots.


I enjoyed putting this layout together and love the challenge.

Thats me for this year, I would like to wish you all a Merry Christmas and a Happy New Year.

See you next year.


Thursday, 11 October 2018

Helping Hands | Elaine King | Small Photos

Good morning all

Didn't you just love this months prompt over on the UK Scrap Addicts Blog? I love to use small photos as it is always great way to use up several photos at once.  Here is the layout I made this month using the prompt 


When I am doing this I usually use a photo editing app. In this case I used Pic Collage so you can make lots of photos fit into a grid. I find that most online photo printing services will offer a 'square photo' option these days. I have discovered that the UK photo printing services of Snapfish offer a 4" square option and Free Prints offer a 5" square option. In this case I used the 5" option from Free Prints rather than print the photos out myself. 

To make this layout I used 4 photos that I had set into a square. In these apps you can often choose a background colour too. In this case I chose a cerise pink background which I echoed by using a cerise pink piece of cardstock as my background. 


Once I had cut apart my four photos in the grid I used them with a page kit from Crafts4Eternity 

I made some home made embellishments using washi tape for the central square and highlighted some of the black that features within the patterned papers. 


I made a cluster in the bottom left with more punched black card and some die cut circles that served as a journaling spot. 


I then punched a 2" heart for co-ordinating card and covered in sequins too. Each of the squares that were not photos were cut and layered to give each a cerise pink frame too. 


To finish I added flowers from my stash and some black puffy alphabet stickers that I got from The Works. 

My only dilemma is the title.. should it be Helping Hand..or Helping Hands??? You decide!! 


Friday, 5 October 2018

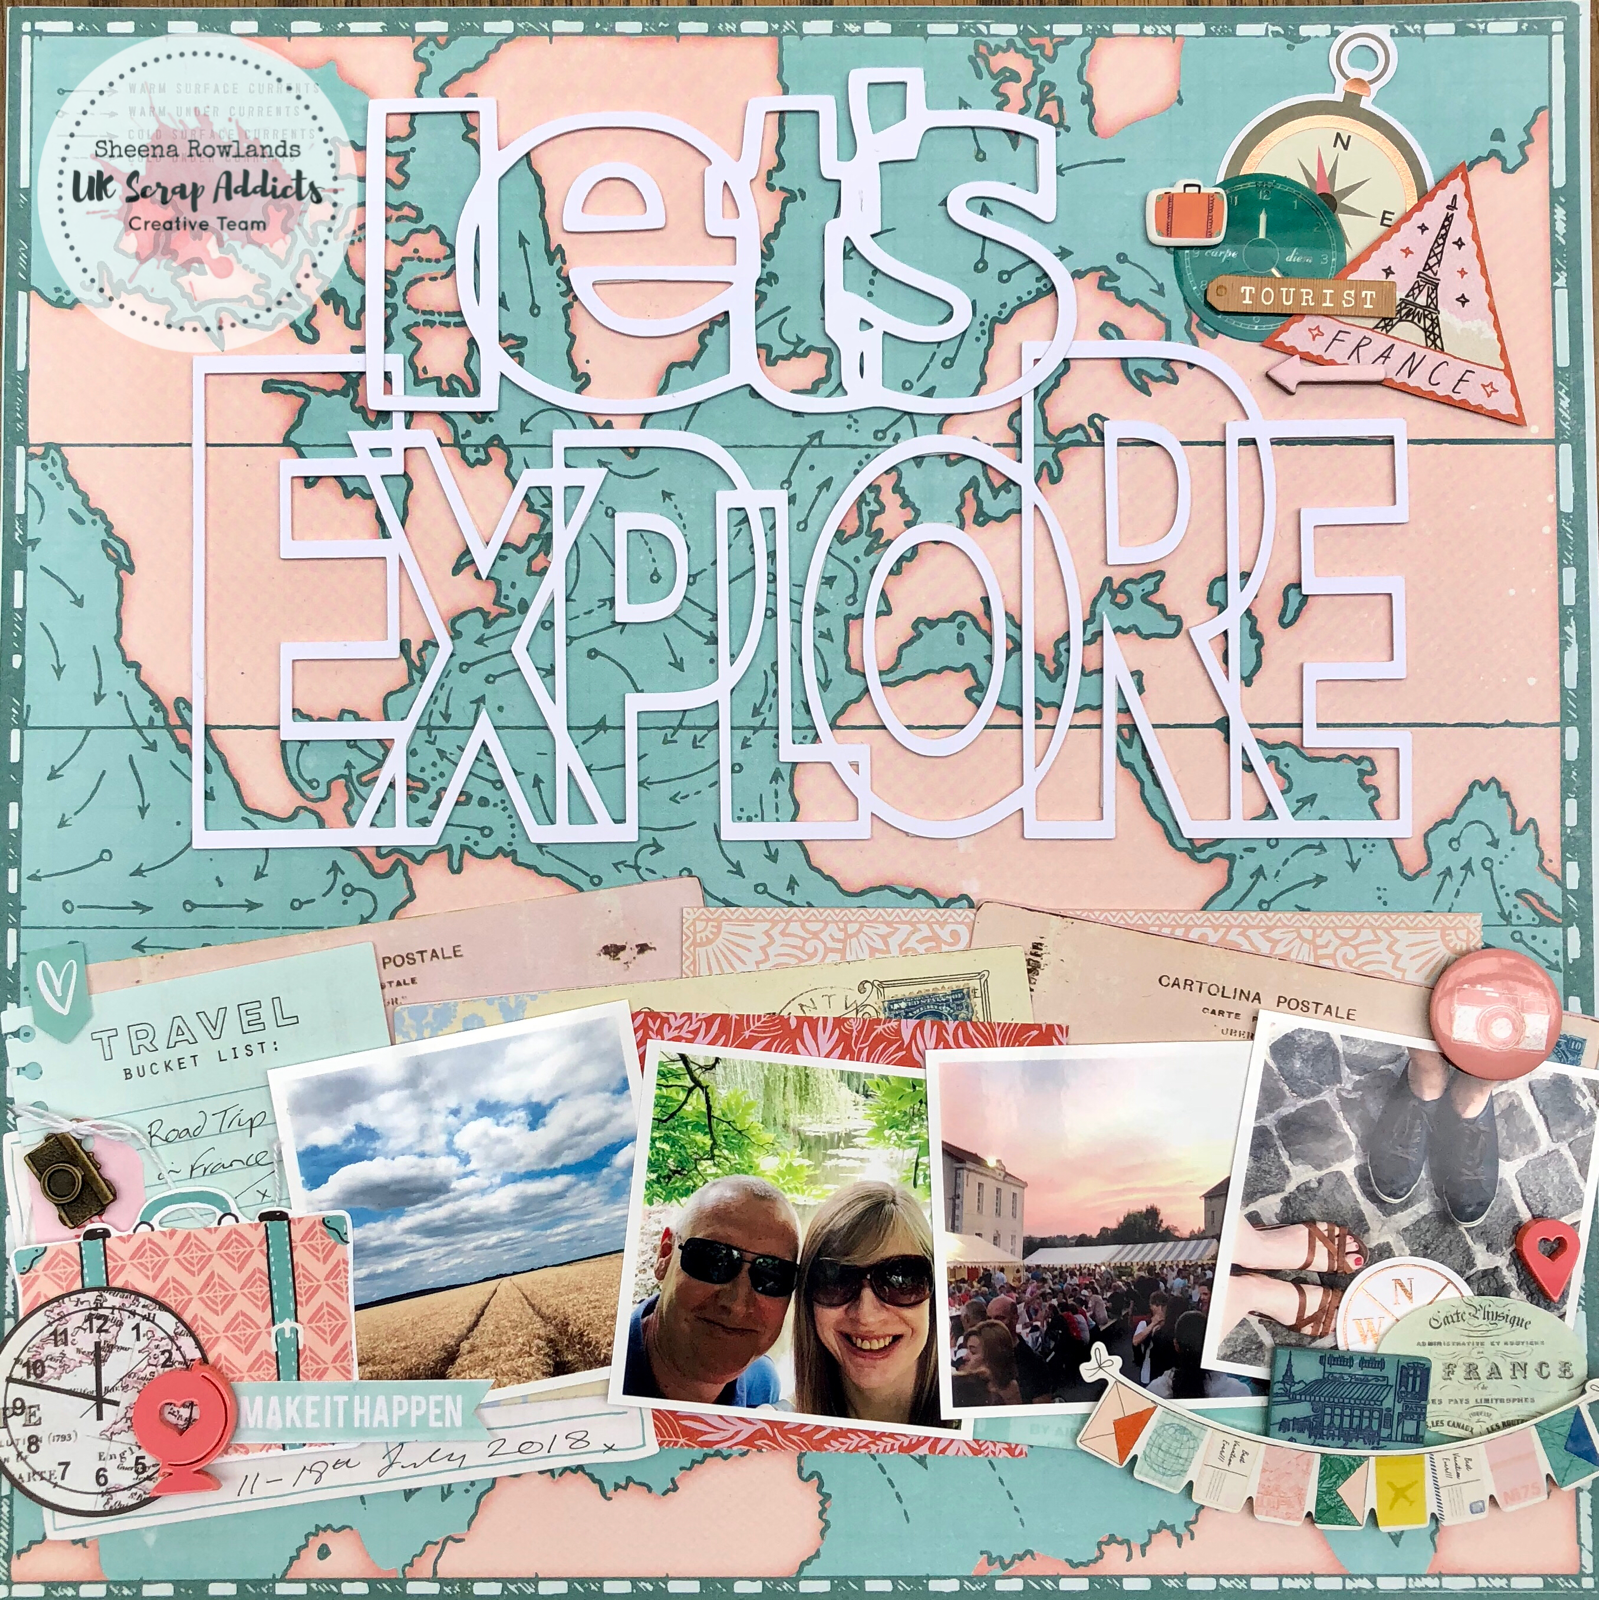
Lets Explore / Sheena Rowlands / Small Photos

Hi there Scrap Addicts x Sheena here again.

This month we have been challenged to create using small photos. Generally I tend to scrap with just 1 photo on a layout so I also challenged myself to use more than 1 photo.

Lets Explore.

Once I had decided to scrap photos from a recent road trip to France I printed 5 photos all 2 1/2 inch square, in fact only 4 made it on my page in the end. I keep all my travel themed papers and embellishments together just to make it easy when I scrap. I loved the map paper from Crate Paper Here and There range & had to use it as my base.


Originally I cut my title on the Silhouette with the intention of backing it with patterned papers but I loved the base paper so much I decided to leave the title unfilled but elevated on foam pads.


I gathered my photos plus some papers and postcards to layer with and added them across the bottom of my page & adhered them when I was happy with how they looked. I then added 3 clusters of embellishments plus a few hand written details.


I love how this came together & we would love to see your pages featuring small photos over on our FB page.
Till next time x


Wednesday, 5 September 2018

Happy Together / Sheena Rowlands / Paint

Hi there Scrap Addicts x Sheena here again.

This month we have been challenged to create using paint. I have water colours and some acrylic paints in my stash so I dug them out ready to start.

Happy Together.

I chose to create with the Pretty Little Studio range - Tales and Dreams,  so dug out acrylic paints that co ordinated with it. I wanted to channel my inner Wilna Furstenburg so applied paint to the background water colour paper liberally in ombre strips then added some white splats before letting it dry completely.


Once the paint had dried I decided to focus on adding my embellishments and photo down one side so lots of the paint texture remained visible. I matted my square photo on papers from this range and added 2 die cut frames over the top.


 I used die cut words from this range to also make my title. Pretty Little Studio make lots of lovely "bits" in their ranges making it easy to add layers and details. I added lots of their die cut flowers to soften the look of the page.


I finished by adding a few silhouette cut leaves in white cardstock which stood out against the paint background and a few resin hearts & bows.


Why not have a go at painting a background, its only paint and paper after all.

Till next time x


Wednesday, 13 June 2018

Beautiful | Elaine King | One 6 x 4 photo

Good morning all


Thanks for joining me again on my journey showcasing British suppliers in the UK Scrapbooking industry. It gives me so much pleasure to support these small businesses and share my experiences with you all. 

For this month's prompt the Creative Team were tasked with creating a layout using just one 6 x 4 photo. As this is something I do regularly I wasn't fazed by this challenge but I wanted to share some techniques with you that may inspire you to get involved too. 

To start with I took several pieces of scrap white card stock and cut them into rectangles and layered them on a white background. I adhered them with medium gel and spread texture paste using a pallet knife to create texture. I also used a stencil with the same texture paste to add further interest.


Next I took some Tim Holtz Distress Oxides, (bought from Crafts4Eternity in Weston Super Mare) and added some pink and grey and misted with water to give it a splattered look. Once dried I then took an inch off each edge and layered the white cardstock onto a pink sheet of card (having gutted it first to use later).


I then took some scrap of pink and grey patterned papers an arranged them over the top of the textured rectangles with some die cuts I'd had for a while in my stash that one of my dear friends had cut for me. We got to know each other through the UK Scrappers forum and I am still an active member there. It's a shame more people aren't so if you have a spare few minutes, why not pop over and say hello? 

Anyway.. then I used some Prima washi tape, also sourced from Crafts4Eternity from one of their add ons from a monthly page kit, and layered this too. 


Finally I added the photograph that I had matted on  the gutted pink card and decorated with flowers from my stash. The little word expressions to the left of the photo are from a sticker sheet from Kaisercraft called P.S. I Love You as is the little heart above the photo too. 


I do hope you like the layout and it gives you some ideas how to use some of your scraps and add dimension. 

Thanks for stopping by!