Showing posts with label #memorykeeper. Show all posts

Monday, 3 August 2020

Staying Home | Zoe (zola28) | Moodboard

Personally I love a mood-board to inspire creativity and the one created by Amy this month certainly did that for me!

The colour palette in the mood-board really spoke to me as did the rainbow, pink brickwork and the kaleidoscope of butterflies, in fact it was just perfect for me.

I started with some mixed media using my new AMAZING water colours and layered some pink Heidi Swapp Textured Paste using my Tim Holtz brickwork stencil (one of my most used stencils). 


I backed my Rainbow cut file using the Pinkfresh Studios Noteworthy collection and also made myself some bows using my new die (already a firm favourite in my small collection). 


I used my Martha Stewart Butterfly punch to create my kaleidoscope coming up and through the centre of the rainbow. (I adore how this bit turned out as I had trapped space there before and was really struggling with it from a composition perspective). 


I finished by embellishing around my photo clusters and adding some perspectives from Bramble Fox. 


I enjoyed making a layout for the mood-board. Please make sure you share how this mood-board inspires you this month over on our facebook group.


Friday, 3 April 2020

Awesome Boys| Zoe Hailey Zola28 | Stamp Technique


So are you like me, someone who owns a bunch of stamps but hardly ever uses them?
I was glad to be challenged to dust off some stamps and make this layout, which I have to say is one of my favourites that I have made recently.

I created this stamped border by covering my card stock with a scrap of square paper and then used the stamping off technique, leaving a beautiful alphabet edging. The stamps were perfect because they had both capital and lower case letters, making it easier to fill in any gaps.

For my background I seed my favourite splat stamps and heat embossed creating the red and turquoise splats which I love!


I worked with Shimelle's Field Trip collection which was perfect for these photos of my son and his bestie enjoying some time at the farm together. I love how  bright and bold the design is and how heavily embellished the layout is. Rockets and Dinosaurs were perfect for this page!


To finish my page I added more ink splats and sequins because no page is complete without sequins in my opinion!


Let's make the most of those stamps this month and get creating with them, be sure to share your stamped creations on the UKSA Facebook Group.

Happy Scrapping

Zoe Zola 28


Sunday, 29 March 2020

Thomas | Amy Kattenbelt | Vertical Design

Good Morning Scrap Addicts,

Hope you are all keeping well and safe. I'm sharing my take on a vertical layout today. I've gone old school using plenty of patterned paper rather than a white cardstock background.
The papers I am using are from an older Paige Evans collection. I am using 3 small photos, stacked one on top of another to create a vertical column. This is then accentuated with a full length magenta floral patterned paper strip. Even the larger yellow block of patterned paper runs vertically.

I added some clusters of embellishments in a triangle around the photos and stamped my journaling to the background ledger paper.


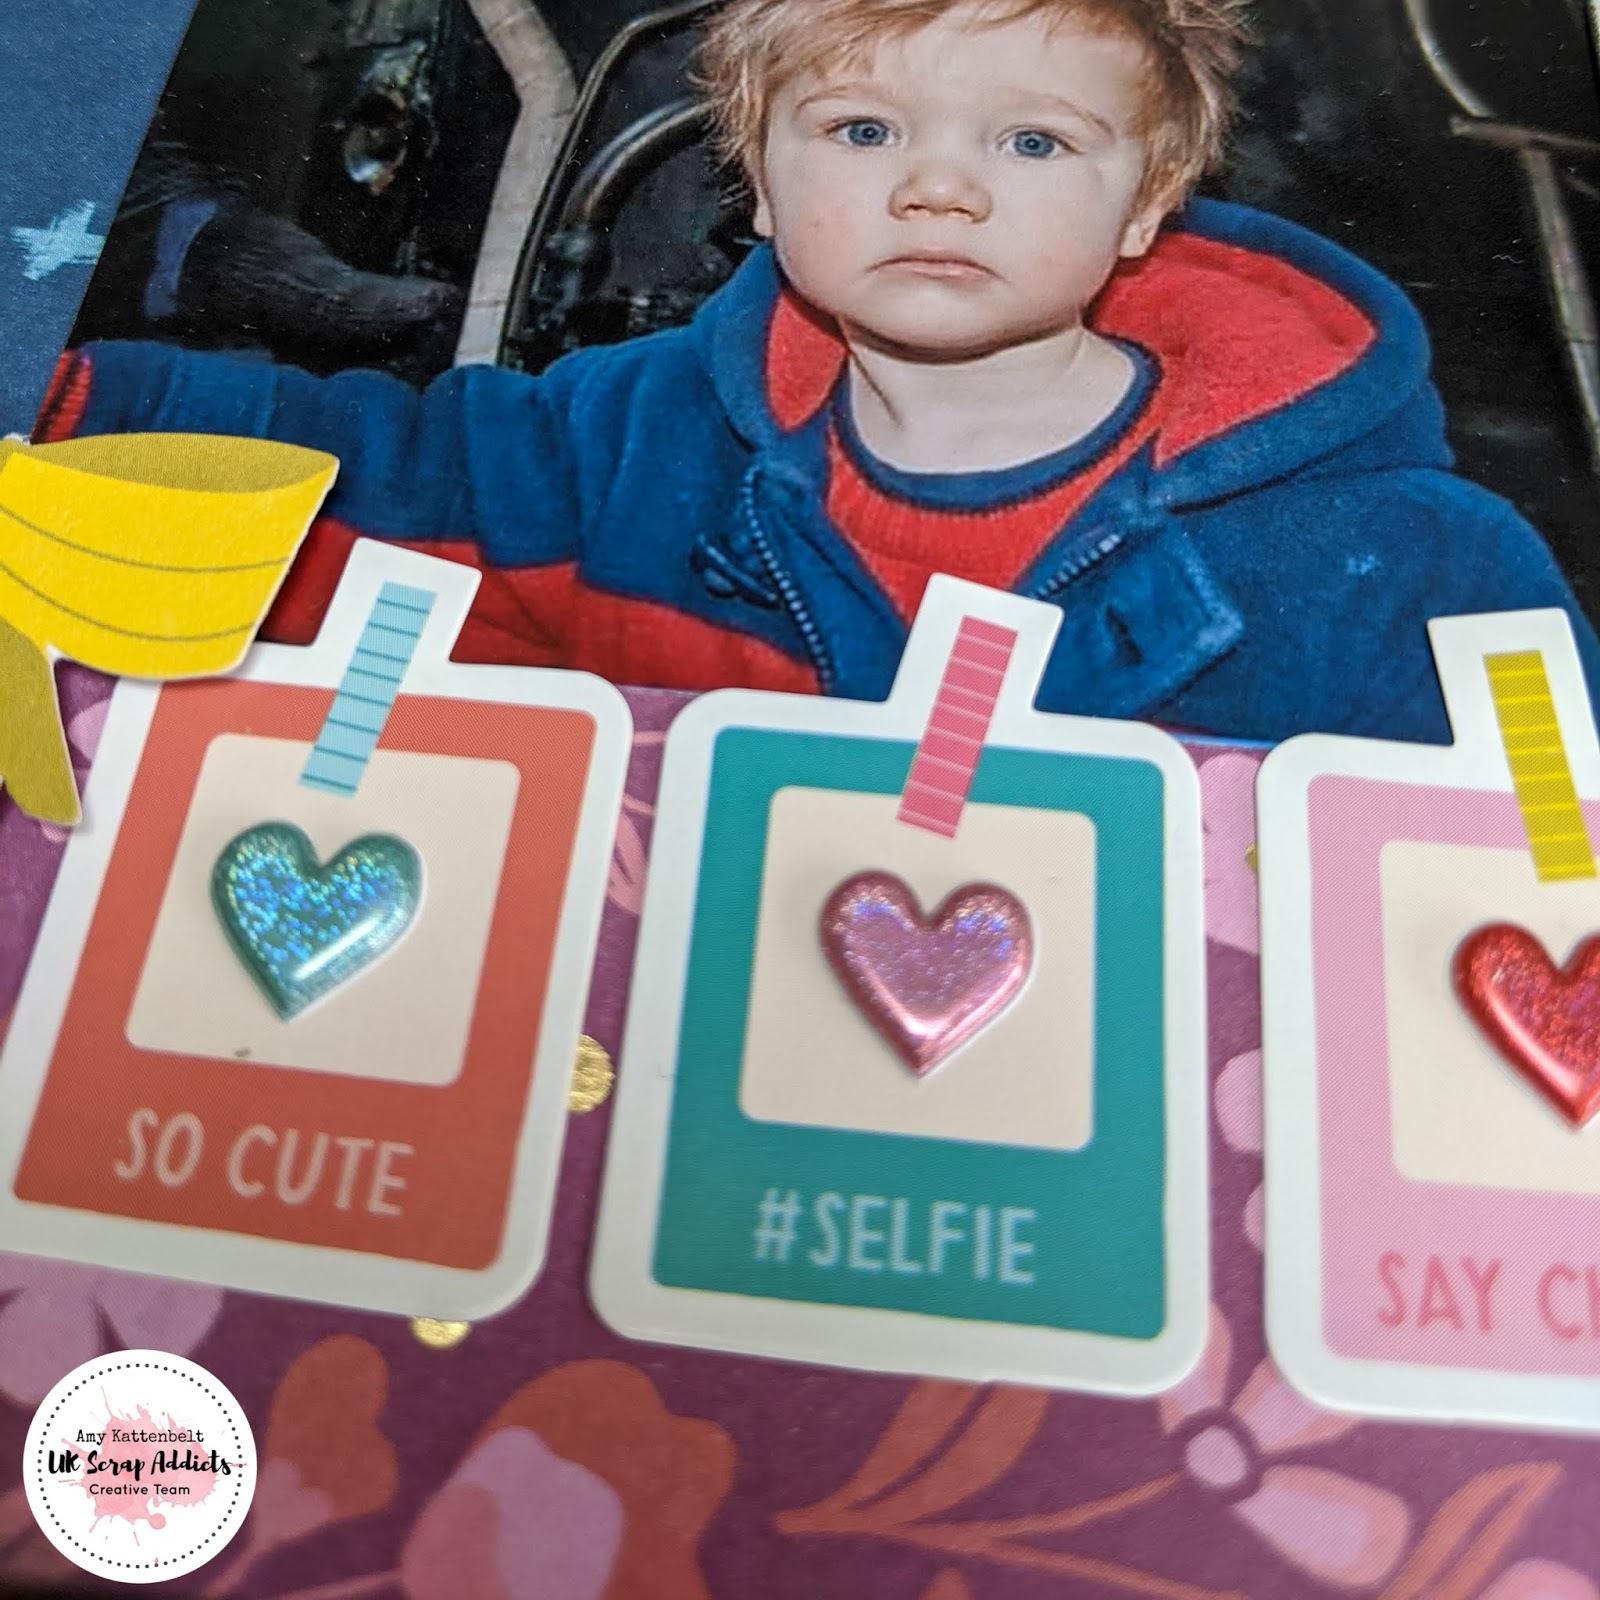
I finished the layout off with some little cute glitter puffy heart stickers.


This would be a really quick and easy layout to scraplift, you could really add your own style. You could go with the more modern white background and use new papers, or go retro like me and use up some of your older stash. Did you spot I've also used older photos too!

I hope you will understand that at the moment it is not always possible for me to be able to bring you a process video along with my monthly Creative Team layout, but rest assured that the UKSA team will continue to bring you plenty of inspiration. Join us in a few days time for a new monthly theme!

Stay safe, and stay at home!


Wednesday, 29 January 2020

2019 | Amy Kattenbelt | Paper Folding

Hello UK Scrap Addicts, Amy here with my layout that uses paper folding. I hope you have enjoyed seeing all the ways the creative team have used the technique of paper folding into their layouts this month.

I really fancied creating a rainbow layout, one of my all time favourite things to do! I cut this 'Fold and Tuck Star' by Alaa K on my silhouette in white cardstock. Once it is cut you fold each 'V' cut of the star over and tuck it under the one next to it.

I used watercolour paints to create this circular rainbow background. I decided as there were 10 points on the star I would create a 'best of 2019' style layout. I picked 10 photos from last year that represented some of our family's highlights, and printed little 1" square photos.

With the star cut and folded, the photos printed and and the background painted, the layout came together really quickly. I added some thickers for the year in the middle of the circle and printed some journaling for each photo which i then cut into stripes and stuck down.


I hope you enjoy this different approach to paper folding. I think it will be pretty eye catching as the title page in my 2019 album.


Do pop over to the UK Scrap Addicts facebook group and share your layouts, we love seeing them! We will back with you in just a few days time to share with your our new theme for February.


Sunday, 3 November 2019

Pair Of Jokers| Zoe Hailey| Masculine Layout

Hi Everyone

Zoe back again with another masculine layout, this time I've had some fun with Shimelle's Field Trip collection.

My definition of masculine for this page includes black cardstock, blues, greens, leaves and Astronauts!


I had this photo of my husband and our youngest son,  both of them were giggling and laughing hysterically;  I just Love It! So much in fact, I printed it twice (once in colour and once in black and white) and I couldn't decide which photograph to use. So I included both by adding a flip up on my photo.


I took inspiration from the tress in the background of the image which was taken at the O2 so the leaves seemed a good starting point. I pulled in the pink from my husbands T shirt and included that in some of my clusters (who says pink isn't masculine!?)


I love how this page came together, especially the flip up photo of my pair of jokers!

Thanks for reading and I look forward to seeing what you create this month.

Zoe (find me on Instagram zola28)

Friday, 1 November 2019

You Set My Heart On Fire | Zoe Hailey | Masculine Layout


Welcome to our challenge theme for November; creating a masculine layout.

I'm not sure what comes to mind for you, when you think of masculine pages but for me dark colours spring to mind, particularly black.


For this layout I have worked with Bella BLVD's collection 'Squeeze The Day'. I created my background using the deco foil transfer gel through a stencil and ran it through my Minc to bond a red foil to it. I loved the stencil as it reminded me of a metal grate texture; what more could be masculine? It certainly seemed to fit with my page which is an image of my husband who got to experience being a fire fighter for the day.

I used the Becky Higgins Project Life App to write on my photo, I always love other people's layouts when I see this but never really get round to doing it myself.... so this month I have finally managed it; My Hunk, My Hero!

So despite the brief of masculinity, I have managed to include red, yellow, hearts and even sequins on my page! I did find this theme slightly challenging but mainly because I over thought it! Whatever masculinity means to you, have fun creating a layout or two this month.


Thanks for taking a look at the blog and I look forward to seeing what you create this month.

Happy Scrapping!

Zoe (find me on Instagram zola28)


Saturday, 5 October 2019

Stirling Views | Amy Kattenbelt | Multi Photos


Hi, Amy here today sharing with a layout that features multiple photos. I am a scrapbooker who more often than not uses just one photo on a layout. So this month was quite a challenge for me. I decided to go with 3 photos, placing them in a row with the larger one in the middle.

I created a mixed media background using distress oxides and a stencil, as well as some stamping. I used 3 colours to create 3 zones, one for each of my photos. 

I layered a few muted coloured patterned papers and doilies behind my photos, as well as used some thread for texture. On the larger central photo I also used some white leaf and branch die cuts.


I added a title using two types of Thickers and finished the layout with some ephemera, a butterfly sicker and some enamel dots.