Showing posts with label circles. Show all posts

Thursday, 7 February 2019

Explore | Punches | Amy Kattenbelt


As you might have seen, this month over on UK Scrap Addicts we are using our punches to create our layouts. I don't own many punches, I prefer to use dies as they take up less storage space. However i do own a small selction of punches from when i first started scrapbooking. It was really fun to get them out and use them again. The Martha Stewart butterfly punch used to be one of my go to items and appears on my many of my older layouts.


Punches are great to be used on scraps. I have recently sorted out all my scraps into coloured bags, so i decided to make a rainbow layout.


Do check out my process video over on our YouTube channel to see this page being created.

 Thanks for reading, and do pop on over to our Facebook group where you can share all the layouts you create this month using punches.

Thursday, 13 September 2018

Penshurst Place | Elaine King | Paint

Good morning scrappers! 

This morning I would like to share with you a layout I have made using your September Prompt of 'Paint' 

Now, of course, the ideas for this are endless and it is an easy process to liberally daub paint, either acrylic or watercolours, on to the background paper and see what effect you can achieve. Of course one of the most difficult things about adding any sort of wet medium to your cardstock is that it will have a tendency to curl..which can be very annoying! To counteract this I used tape to stick down the edges to my glass cutting mat before starting adding the moisture to the paper/card. 

I used a heavyweight white card for my background which is 300gsm. I bought this in bulk from by 'go to' supplier Crafts4Eternity.  Of course you can use specialised watercolour paper for this but it does work out quite expensive and if you follow this simple tip you can use regular cardstock just fine!


Now, I'm no artist, but to me the techniques I used were very basic and I can explain a little of how I created the Lavender stems very simply..just follow along. 

To start I took some inexpensive watercolours and mixed some pale mauve paint using reds and blues and a pale grey/green colour. I watered this down quite heavily and painted soft fluid strokes of the two colours horizontally across the page.  I then gently gently painted the stems/leaves onto the background card in upward movements in random directions using a slightly darker, less watered down, grey/green colour. You can see here how I painted across the masking tape that I used to stick the paper to my mat. 


Then I mixed deeper mauve colour using red and blue and started on the flower heads. To create these I used 'bobbling' movements with my paint laden brush in elongated triangular shapes. It really wasn't scientific..just keep your paintbrush moving in these shapes. You will see that these are varying shades of the purple I mixed as each flower head has a different amount of water added to my brush each time. This adds depth and field to the painting. 


Once I had painted all my Lavenders, and allowed it to dry, I removed the masking tape from the edges. Undoubtedly this will remove some of the layers of the card beneath so at this point I cut a border off the edges and matted the entire piece on a piece of dark mauve cardstock. 

I next set about creating the photo clusters. First I die cut two circular photos of varying size. I then used a selection of flowers and leaves to create my clusters and  added the title using Puffy Sticker Alphas that I bought from Lottie Loves Paper 


I hope you like what you see and that this simple tutorial gives you confidence to have a go..what have you got to lose? Do let us know what you think too!


xx


Wednesday, 29 August 2018

Take a Break | Kirei Baldwin | Tic Tac Toe

Hi Scrap Addicts!

Kirei here with my take on this month's theme which was to pick a line of 3 items from a Tic Tac Toe board to use on a layout...


I chose the middle line....arrows, circles and washi tape!


This was a great opportunity to use some washi tape as I am sure many of you have just as many rolls as I have waiting to be used up, they certainly last forever! My inspiration came from a recent layout I made for GoGo Getaway where I used up lots of manufacturing strips that I punched into shapes and a fab layout by the lovely Jo Boland where she used washi tape strips as a background. 

Firstly I covered a piece of 12" x 12" white cardstock with different coloured strips of washi tape in a rainbow effect.


Then I punched out various sizes circles which I stuck down onto a white background. I added a 3 3/4" x 3 3/4" square photo (printed one up with borders on a Canon Selphy) with foam dots to give dimension. I added a title using some chipboard Thickers..... can you tell I used a 'c' in place of each 'e' as I had run out of them! I just added in the white line using a Sharpie Poster Paint pen.


Then I went through my stash and added lots of little embellishments (including arrows) in the same rainbow colours as the washi tape.


I love the finished effect and as I had more of the washi tape background left I made a second layout....


For this layout I cut the remaining washi tape background into strips that I stuck down onto a 12" x 12" piece of white cardstock. I punched a few more circles and added them to the white space I had left, attached a 5" x 3 1/2" photo (printed one up with borders on a Canon Selphy) with foam pads.


And again I went through my stash and added lots of circular embellishments (enamel dots, flair badges, sequins, brads) and some white glittery arrows. 


I finished off with a title and journaling.


So why don't you join in with the Tic Tac Toe and share your layouts over on the UK Scrap Addicts Facebook page and join in with the chat.... we love to see what you create!

Thanks for looking, happy scrapping!


Saturday, 25 August 2018

But First Coffee / Jackie Ashton / Tic Tat Toe

Hi Crafters, Jackie here with my take on this month Tic Tac Toe theme. 


I went for the bottom row - Mixed Alphabets, Hidden Journalling & Pastel Colours.

But First Coffee ...


I started by distressing my white cardstock with Tim Holtz Distress inks in Cracked Pistachio using the packaging technique.

Over this I added stamped several different sizes circles over the top and added some wonky machine stitches, near a few of the circles.


The collection I used for this layout was Pink Fresh Studio - Simple & Sweet collection - its a lovely fresh collection with lots of pastel colours.

For my hidden journalling I die cut a tag from some of the patterned paper and added my journalling to the back, and tucked it behind the photographs.  


The arrow paperclip helps to hold the tag in place as well as being decorative.

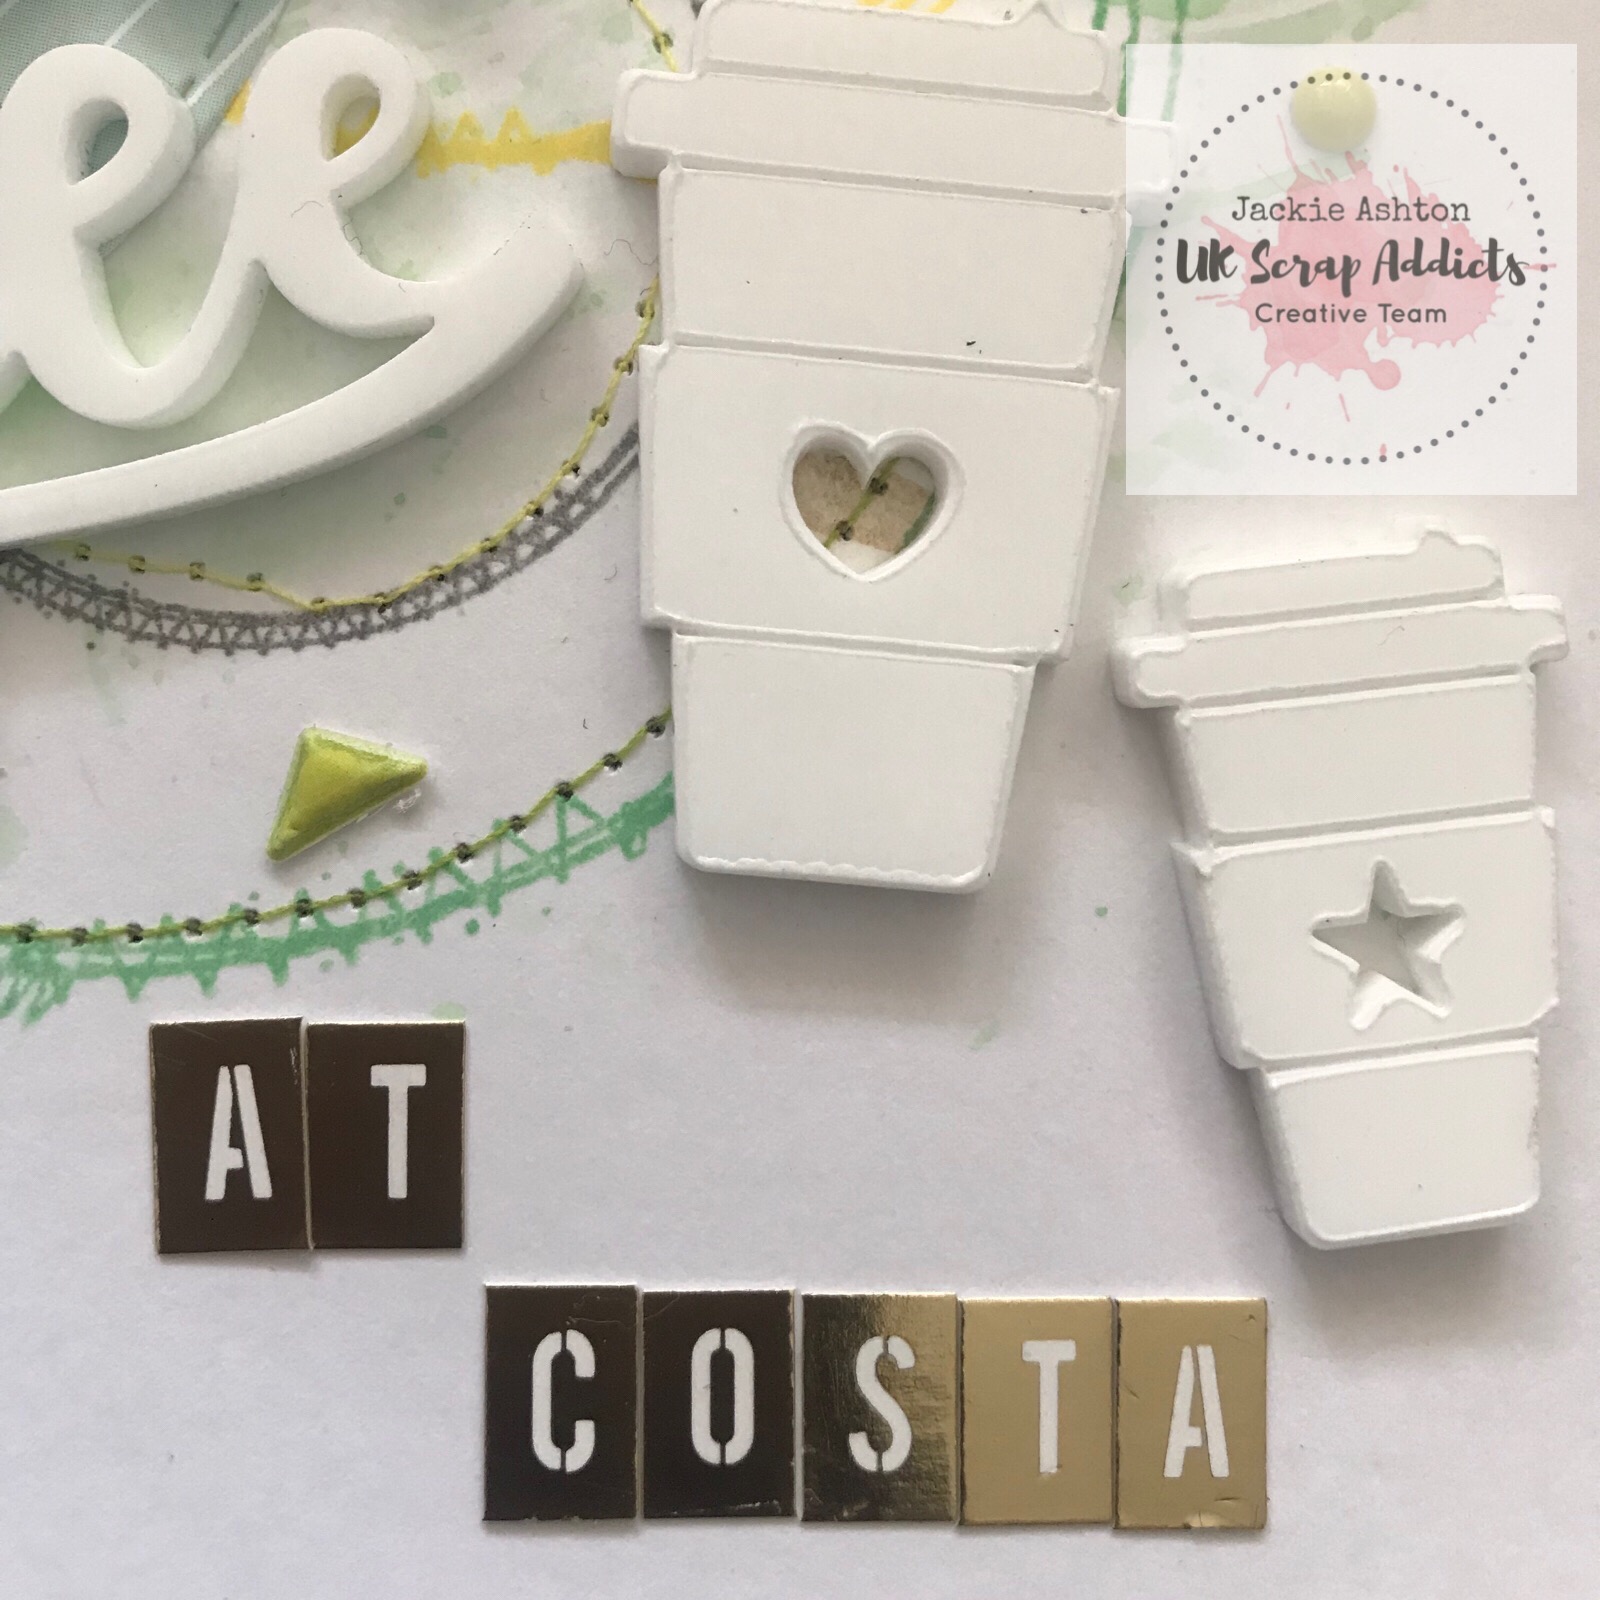
For my title I used a Bramble Fox perspextive and the cute coffee cups, 


and added mini alphabets from Maggie Holmes - Gather Collection.


The puffy gold hearts are from Pink Fresh Studio - The Mix No. 1.


By using this months theme, it provides you with a great way to get started on your layout and perhaps mix things up the you wouldn't normally put together.

I hope you can join us on our Facebook group and show us how you have used this months theme on your layouts.

Happy Scrapping, till next time


Saturday, 11 August 2018

Summer Smiles | Lou Thompson | Tic Tac Toe


This months challenge was to use the Tic Tac Toe grid. You must take any line of 3 items from the grid, up, down or diagonal, and use these as part of your work. I have chosen the rainbows, circles and different alphas.

I thought about how I wanted to incorporate the circles and remembered these lovely wooden circles I had. I also came up with the idea of decorating the circles using papers with the colours of the rainbow. I used a circle punch to make the paper shapes and then applied to the wooden circles using double sided tape.


I wanted to further the idea of using circles so also used a Finnabair stamp set to add some more circles to my background


A selection of alphas were used to create the title for this layout


A cluster was created in the bottom right corner using ephemera, stickers, chipboards and flowers.


The wooden circles were stuck to the page to create a base for the photo. The photo was matted with some different coloured papers and then stuck to the page, careful not to stick right to the edge of the photo mat. This was so I could then tuck in stickers, chipboards, acetate, enamels and ephemera. Foam squares were applied to some pieces to add further dimension.


And here is the finished piece. I'm really pleased with how it turned out. It's a really fun, summer piece that works great with the photo. I hope you like it and see you again next month :)


Thursday, 9 August 2018

Hogwarts Bound! | Giselle Homer | Tic Tac Toe

Hi everyone,

It's already August and I'm sure many of you will be on holiday taking lots of photos to scrap in the coming months. This month's theme is Tic Tac Toe, where we chose items in any direction, in a diagonal or straight line from the grid shown below. The choices should include the 'circles' from the centre of the grid. I chose Arrows, Circles and Washi Tape.


I've made an 8.5" x 11" layout this time using Simple Stories 'Say Cheese III' to go with this photo taken at platform 9.3/4! I began by backing the photo with a couple of sheets of patterned paper and a frame. Then I cut out the castle shape from one of the other papers in the set. This showed off my title well, it's a Perspextive from Bramble Fox a UK company that specialises in acrylic words.


Then I cut some footstep shapes using my Silhouette and added them below the secondary title words, which are mini Thickers from American Crafts.


I cut the border strips and added thin yellow Washi Tape to the edges.


Then I cut 2 circles for the journalling and added other embellishments including an acrylic arrow and a metal paper clip above the photo. The layout was finished by adding a variety of stars floating upwards to the top of the layout.


I hope you have fun and get some inspiration from this month's theme and don't forget to share your layouts with all the UK Scrap Addicts on Facebook and Instagram.

Till next month, Happy Scrapping!