Showing posts with label watercolour. Show all posts

Friday, 7 December 2018

WKND VIBES | Amy Kattenbelt | Grab 5

Can you believe its December already! This month the Creative team at UK Scrap Addicts are working with a Grab 5 challenge for our projects. Join me over on You Tube to watch how my scrapbook layout came together using the 5 products I picked to use, namely
1. Watercolour paints
2. A stamp set
3. Gold sequins
4. A 6x6 paper pad
5. Chipboard stickers

Its quite a summerly layout, using bright fresh colours, just the thing to liven up these long dark nights. I used a black & white square photo on my layout.


The layout involves a mixed media background with some doodling and stamping in black.


Thanks for stopping by, and like i said do check out our You Tube channel for more detailed information about how i created this layout. Merry Christmas, and I will be back with another layout in the New Year.


Saturday, 15 September 2018

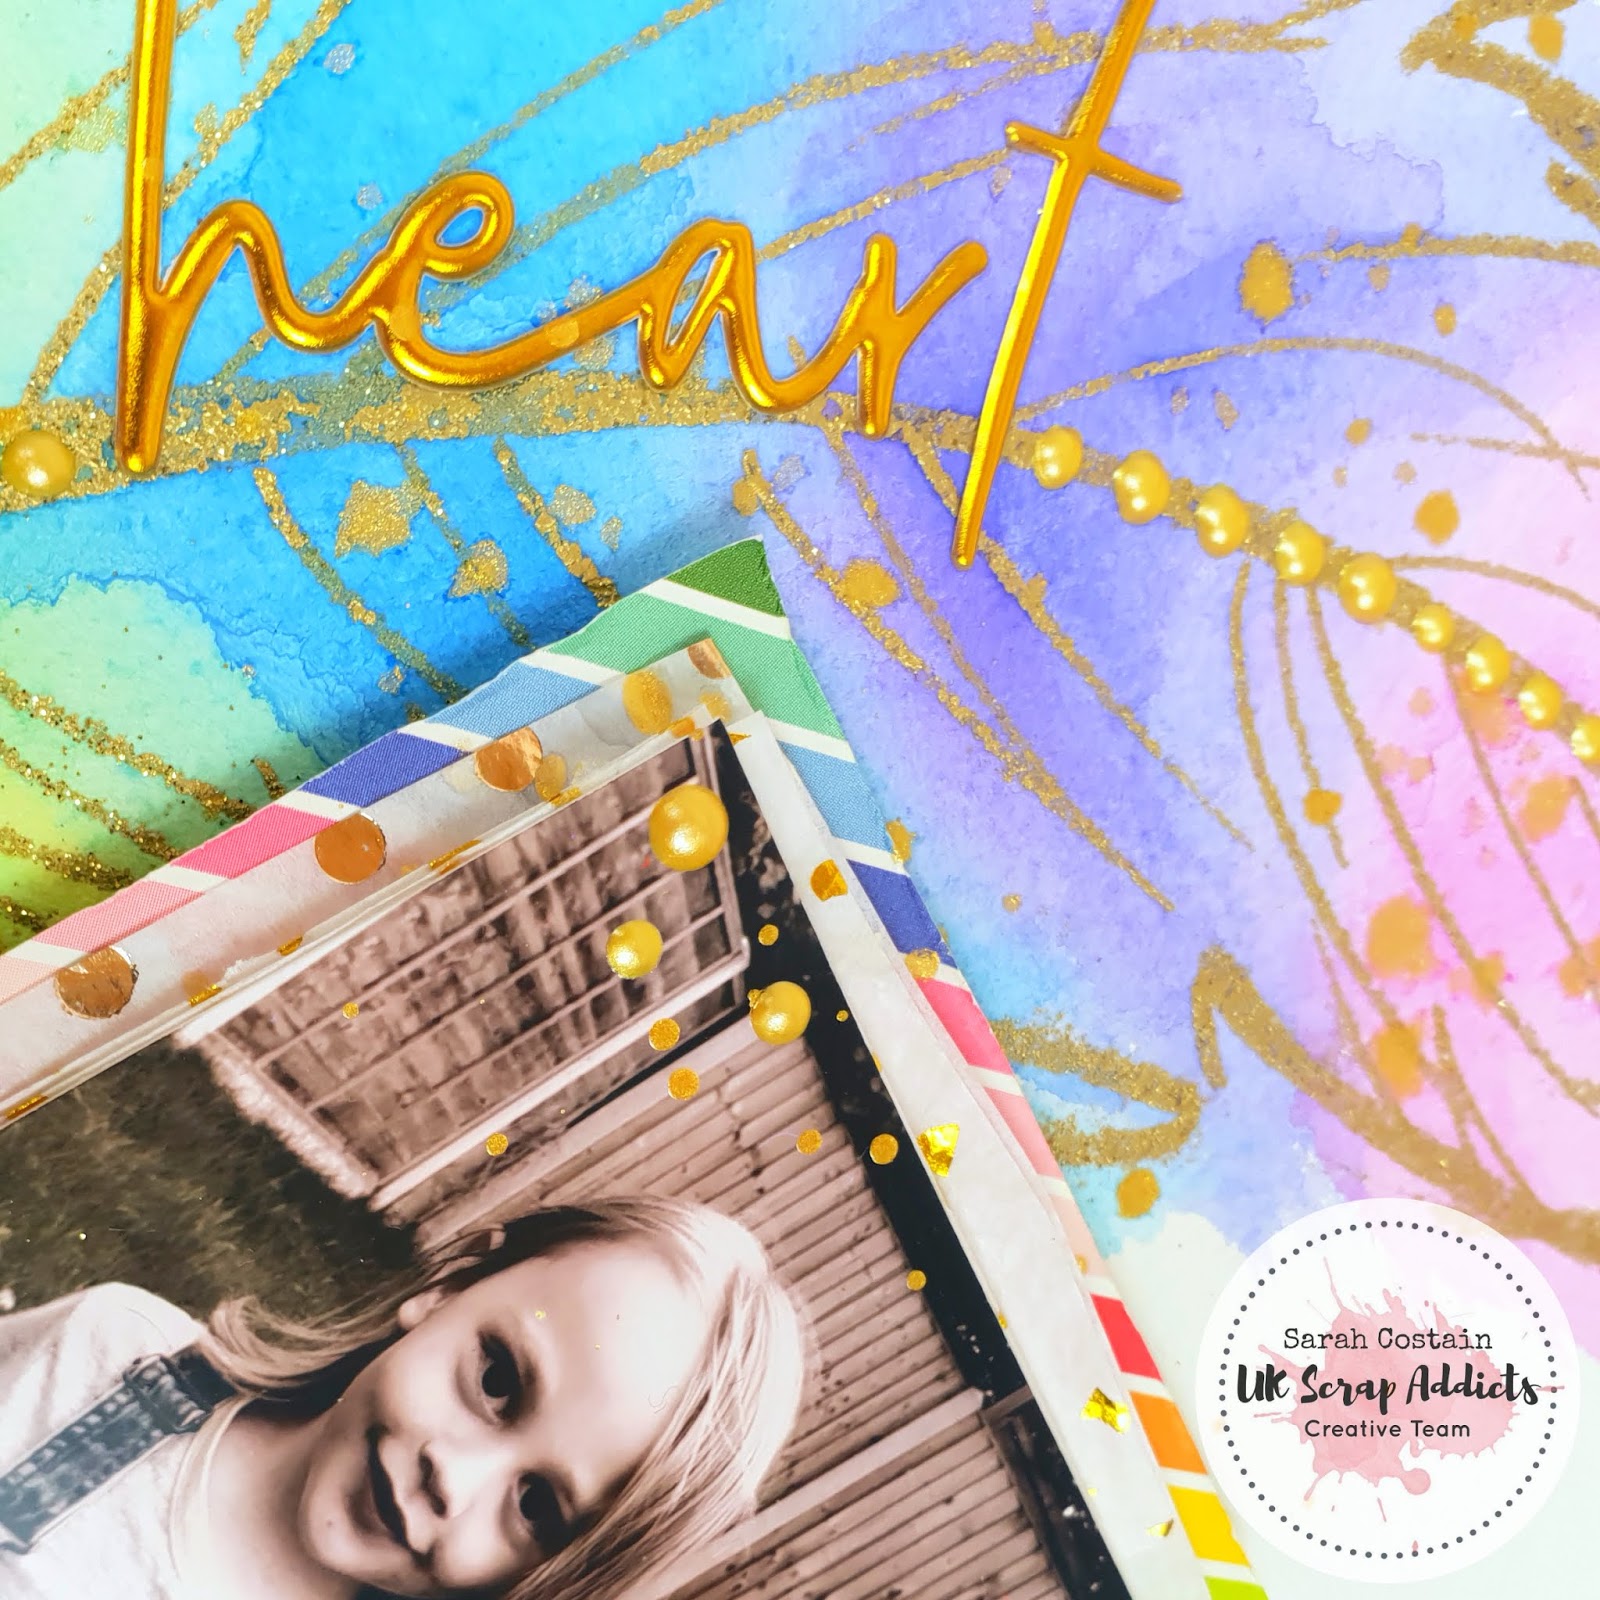
Amazing Heart | Sarah Costain | Paint

Sarah here today for this months challenge using paint which is something I love to do on most of my scrapbook pages.

I decided to use watercolour so used a watercolour 12x12 paper for my background available at Thompsons Craft Supplies.

Using an embossing pen I sketched out a feather and coated it in Gold glitter powder. Once melted I added a rainbow of paint over it to fill in the shape.

I layered my photo onto tissue paper and rainbow paper from the July Mind the Scrap kit. I tucked washi behind the photo for added texture and mirrored this down the side of the layout.

Scripty Thickers also from the kit were perfect for my title running along the feather and some splashes of gold Color Shine and pearl drops added a finishing touch.

You can check out the process video here.

Thanks for joining me and have a scrappy day :)

Sarah

Thursday, 13 September 2018

Penshurst Place | Elaine King | Paint

Good morning scrappers! 

This morning I would like to share with you a layout I have made using your September Prompt of 'Paint' 

Now, of course, the ideas for this are endless and it is an easy process to liberally daub paint, either acrylic or watercolours, on to the background paper and see what effect you can achieve. Of course one of the most difficult things about adding any sort of wet medium to your cardstock is that it will have a tendency to curl..which can be very annoying! To counteract this I used tape to stick down the edges to my glass cutting mat before starting adding the moisture to the paper/card. 

I used a heavyweight white card for my background which is 300gsm. I bought this in bulk from by 'go to' supplier Crafts4Eternity.  Of course you can use specialised watercolour paper for this but it does work out quite expensive and if you follow this simple tip you can use regular cardstock just fine!


Now, I'm no artist, but to me the techniques I used were very basic and I can explain a little of how I created the Lavender stems very simply..just follow along. 

To start I took some inexpensive watercolours and mixed some pale mauve paint using reds and blues and a pale grey/green colour. I watered this down quite heavily and painted soft fluid strokes of the two colours horizontally across the page.  I then gently gently painted the stems/leaves onto the background card in upward movements in random directions using a slightly darker, less watered down, grey/green colour. You can see here how I painted across the masking tape that I used to stick the paper to my mat. 


Then I mixed deeper mauve colour using red and blue and started on the flower heads. To create these I used 'bobbling' movements with my paint laden brush in elongated triangular shapes. It really wasn't scientific..just keep your paintbrush moving in these shapes. You will see that these are varying shades of the purple I mixed as each flower head has a different amount of water added to my brush each time. This adds depth and field to the painting. 


Once I had painted all my Lavenders, and allowed it to dry, I removed the masking tape from the edges. Undoubtedly this will remove some of the layers of the card beneath so at this point I cut a border off the edges and matted the entire piece on a piece of dark mauve cardstock. 

I next set about creating the photo clusters. First I die cut two circular photos of varying size. I then used a selection of flowers and leaves to create my clusters and  added the title using Puffy Sticker Alphas that I bought from Lottie Loves Paper 


I hope you like what you see and that this simple tutorial gives you confidence to have a go..what have you got to lose? Do let us know what you think too!


xx


Friday, 7 September 2018

Happy | Amy Kattenbelt | Paints

Hi, Amy here with this months take on our September theme of  'Paints'.

I've created a layout using my watercolour paints to create this rainbow effect background around a heart. I just used a cheap set of watercolours with ready mixed colours, and a good thick white cardstock, but i didn't use gesso or anything. I used plenty of water to make the colours blend into one another, the trick was to not scrub at the paper with the brush, just use light touches to move the colour around. I then let it dry naturally.


Once i had created my background i sketched around the white heart shape that was left on the cardstock to hid the imperfect lines. After i had created this background i became a little stuck in how to finish it. Eventually i stumbled across a floral acetate from Heidi Swapp, which i loved but was also struggling to use. When i layered it up i loved how the flowers seem to fit the heart shape. It took my layout in a totally different direct but i really like the result.


Because the layout's backgrounf is so busy, i just layered my photo with some neutral coloured papers and added a few emblisshments including some brown gem swirls which to be honest, came in a grab bag, and i didnt think were my taste. I love them! Shows how good it is to try new things!


I hope that my layout shows you that you dont need expensive products to use paints on a layout, and you dont need mush skill either! So please, be brave and give it a go....you might just love it!!

We would love to see what you are creating this month, especially those projects involving paints, so do come and join us over on our Facebook group. If you want to watch this layout being created then head over to our UKSA YoutTube channel and watch my short process video.


Thanks for reading, have a great September, and keep your eye out for some amazing painty layouts from the rest of the UK Scrap Addicts Creative Team!


Friday, 12 May 2017

Traveler's Notebook | Polly's Papercrafts (Emma) | Sketch

Hi lovelies, it's Emma with you again today with a blog post and video all centred around Laura's fabulous sketch for this month. In fact, spoiled as we are, the Creative Team had not one but two sketches to choose from this month. The other was designed by the lovely Susan and is a 2 page sketch. Alas, try as I might I could not make the fabulous double pager work for me, though I did really try as a challenge for myself. 
(And yes, I did just use the word alas!)

So here it is. The sketch that Laura designed. 
It uses a wonderful bit of mixed media in the background (my guess would be watercolour), a single 4x4 photo and lots of layers.

Now, of course there's a bit of a story with this one for me. I did originally do a 12x12 page using a toddler photo of myself with lovely pink ink smooshed about using the packaging technique. Tons of fun was to be had.... except when I went to edit the video, it was non-existent. *Face-palm* I hadn't recorded my session of inkiness after all. Sad times. 

Have no fear however, I changed tack. Being a creative and all, I figured I could do this. No worries. In the end, I created a spread in one of my handmade traveler's notebooks - and I kind of love it! 


I used a Maggie Holmes Chasing Dreams paper that had lots of frames on and fussy cut ALL of them, even if it was only half a frame hanging off the edge of the paper. I knew I wasn't going to use the pattern on the B side so now I have a lovely pile of frames to use as layering pieces. 


I used a Mister Huey's Pretty in Pink spray which I watered down to get the paler pink in the background and paired that with the pink stripe paper to mat my photo on, which also came from the Chasing Dreams collection.


The chipboard hearts I used are actually from Pinkfresh Studio's Indigo Hills collection which were perfect as they had a similar shade of pale pink and hints of black and grey. 


So that's it from me, head on over to the UK Scrap Addicts YouTube channel to see the full process and don't forget if you are inspired by any of our creative endeavours and share something of your own, remember to include #ukscrapaddicts so we can find you! 

Until next time...


Sunday, 23 April 2017

Tell me a story... | SciFi Scrapper | Sewing

Hi everyone, Emma Marie (SciFi Scrapper) here today to share with you my latest layout for the UK Scrap Addicts!

This month are focus has been on stitching of all kinds, and I decided to use that on a layout about Mother's Day and the flowers I'd given my mum. I'd picked up the most amazing bunch of tulips for her, but they went through quite the journey before they made it to her. This layout focuses on her receiving the flowers and them looking lovely. The facing pocket page will be all about the reality of the situation and how they were somewhat battered and bruised by the time she received them.


I decided for my layout to do some watercolour tulips, and then hand stitch all around them to add detail. The stems I did in a subtle green that wasn't too overpowering, and the flowers I did in white, so that the watercolour could really shine.


I also used some wood veneer butterflies I've had in my stash for years. I was really glad to finally get them on a layout and love how they look with the flowers. They came as one piece so I did have to cut them apart, but I don't think you can really tell, and I think they look better scattered about the layout rather than in one solid piece.


Towards the end of making this layout I decided that it didn't look quite finished. I decided to do a running stitch around the edge of the layout in white, which not only helped make the layout feel more complete, but also gave me a handy spot for my journalling.


Make sure to pop over to our YouTube Channel to watch my process video of how I made this layout. :)